Brief Description: Dimpling parts and trim tab actuator pushrod
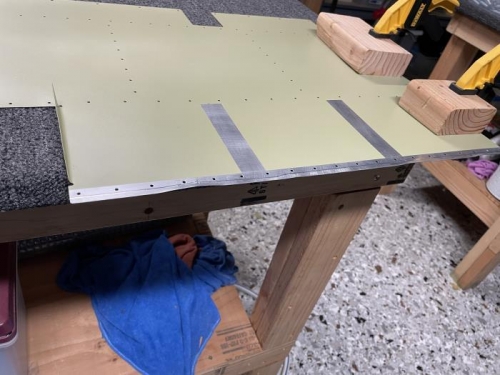
Just a quick session tonight. I dimpled the trim tab flange c/t the lower skin. I noticed on far inboard fastener hole on the upper surface was damaged due to a slightly too agressive countersink making a ragged knife edge. I'll oversize that hole to a #30 and install an oops rivet there to correct the bad hole.
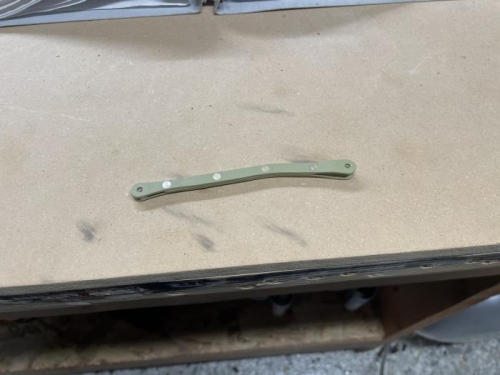
I also double flush riveted the trim tab actuactor pushrod together. The plans called for a AN426AD3-3.5 rivet, but when I drove the first rivet, it noticably did not fill the countersink as well as I would have liked. For the final three rivets, I switched to a AD3-4 and the results looked much better.
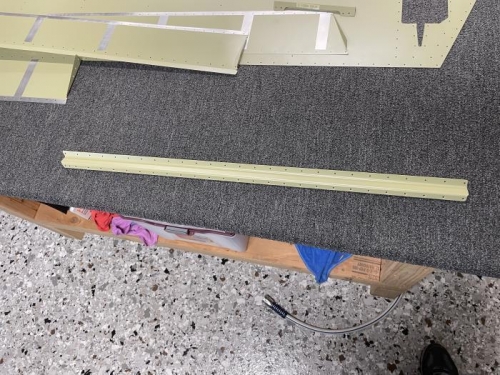
I also tried to break the edge of the counterbalance skin (E-913) and the main skins. I guess I don't have a good touch with it. Maybe I'm setting it up incorrectly. When I start rolling it down the edge it always seems to slip and I can't get a good straight line. The trailing edge is a bit warped, but I got out the hand seamer and worked the worst of the kink out of it. Hopefully when it's riveted it won't look so bad.