Brief Description: Deburr rear spar and assemble hinge bearing
I finished deburring the lightening holes on the rear spar. Glad that's over, but I still have to do the whole process again on the front spar. I think I'm going to try my ScotchBright wheel on my grinder for that. This hand filing crap on the edges just takes too long.
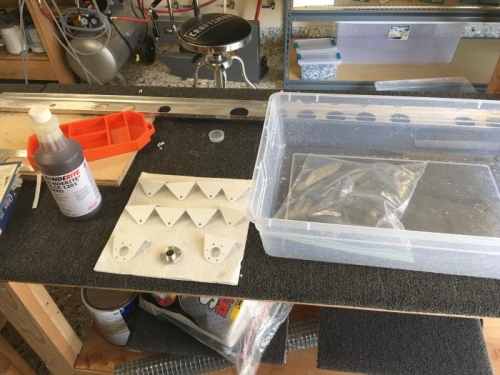
I decided to do a chemical conversion coating on the bare aluminum holes of the brackets. I'm a little paranoid about corrosion in unseen places causing catastrophic failures. Since I didn't have any Alumiprep to remove the surface oxidization layer I ran a reamer through the holes. Using Dawn dishwashing soap and Q-tips, I cleaned out the holes, rinsed and dried the parts.
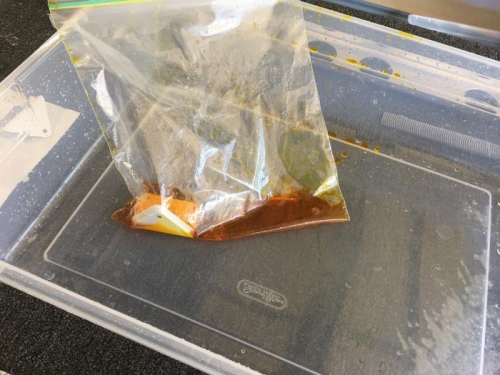
I poured undiluted Bonderite (formally known as Alodine) in a plastic bag and sloshed the brackets around for about two minutes. A through water rinse and dry and the holes are now protected.
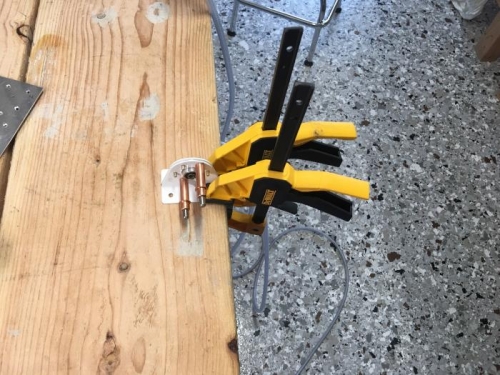
The center hinge bearing assembly was clamped to the table and riveted together. Of course, I had to drill out two rivets and replace them, but I've gotten pretty good at it now and didn't damage the parts. A couple of new rivets and the assembly was done.
Preparing to apply Bonderite (Alodine) to bracket holes.
Immersion in Bonderite. Nasty stuff. Wear a respirator when using or get cancer.