Brief Description: Deburring and drilling the rear spar
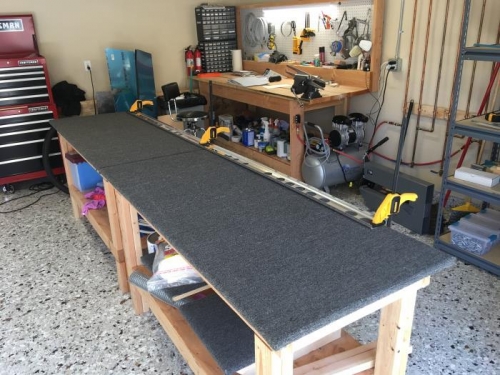
The rear spar is 0.063 in. thick and has pretty rough edges from the stamping process. Because the spar is 9.5 ft long I didn't think I could use the ScotchBright wheel on my grinder and control it well so I clamped it to the workbench and started smoothing the edges with a vixen file.
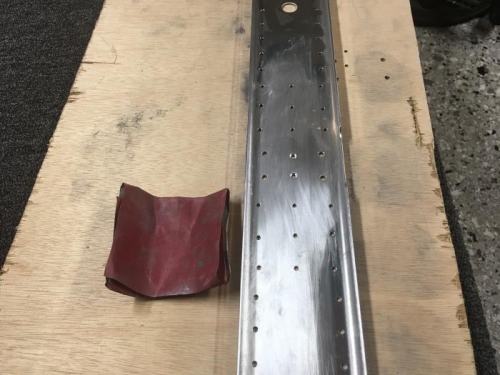
Once the edge surfaces were sufficiently smoothed I used a crowfoot deburring tool to remove the corner burrs formed by the filing. I kept making more work for myself because the tool would sometimes slip off the edge and gouge the web. Grrrr! I hate sanding out scratches and gouges, but it has to be done or you pay for it big time later when the crack forms.
A final pass with a 1 in. ScotchBright wheel on my electric drill to smooth the edges was done.
I started on deburring the lightening holes in the same manner as the edges, but I stopped after four holes because my hands were aching pretty badly.
Two holes in the center of the spar were countersunk without problems. I started sanding some of the self-inflicted scratches out of the web.
The HS-912 brackets were all final drilled and their locations marked. The HS-906 doubler was clekoed to the spar and the common holes were all final or match drilled as required.
I wish I could've continued, but my hands and shoulders were screaming at me to stop.
Time to move on from disaster. Deburring the rear spar.
Countersunk two holes in the center and sanded out some nasty scratches.