Brief Description: Bonding the center wing section
All contact surfaces of the fuselage and center wing were abraded w/ 40 grit and cleaned w/ acetone.
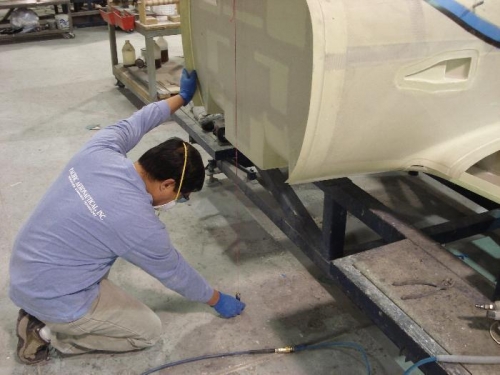
First, center wing section was placed and aligned in bonding mixture, This was accomplished via hanging plum bombs from reference locations on the center wing and aligning with reference lines on the floor. From here, center wing was set in fixture by holes through two (2) brackets and installing clecos. This ensures that center wing will not be accidentally moved during bonding.
Next, fuselage was carried over and placed in the bonding fixture over the center wing. In the same manner, plum bombs were used to center fuselage over the fixture/center wing. Any interference points between skins were reworked to allow loose fit. Again two (2) holes were drilled and clecos were installed in order to help realign fuselage to center wing once adhesive is applied to bonding areas. Additional holes were drilled through overlapping sections of center wing lower skin and fuselage both fwd and aft (fwd area shown in picture 3).
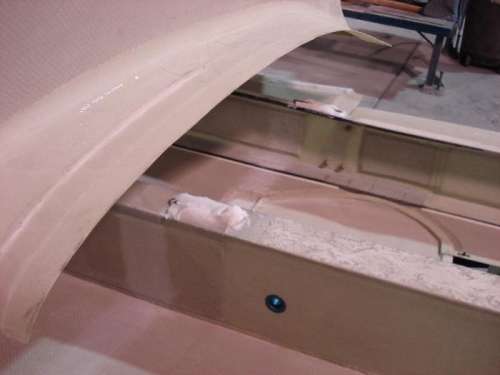
All bonding areas were first wetted out with Jeffco resin and then resin and flox mix was applied to center wing bonding areas. 1/4" thick shims (4 pieces) cut out from phenolic were placed in between center wing and fuselage to keep adhesive from being pressed out by the weight of the fuselage during bonding (see picture 2).
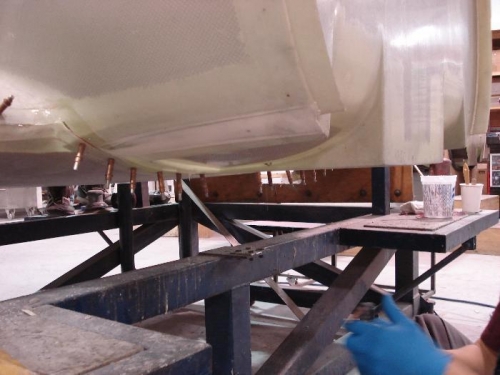
Fuselage was droped in place and aligned using clecos. More clecos were installed as required, and excess adhesive was cleaned up as much as posible.