Brief Description: Rivet rear rib flanges and rear spar
Step 4 directs you to "detach the rear spar from the rear rib flanges and disassemble" then deburr and treat for corrosion. The manual appears to direct that the HS be taken apart, deburred and primed in sections i.e., the front spar and then the rear spars. (See page 5-29 of step 5.3 and Step 4 (5-34). But most builders would complete inital assembly then disassemble the entire HS the prep for and complete application of primer.
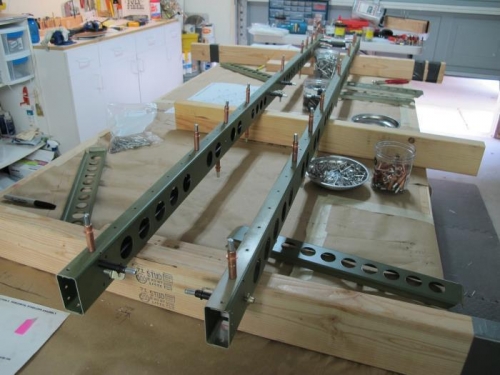
Apply Fabric in Step 5 directs that you "Now reinstall the drag and antidrag wires as described in Step 3." However, since initial installation of the wires required twisting the frame I doubt that the wires could be attached after the entire framing had been riveted, I chose to attach the wires and then complete the riveting of the frame.
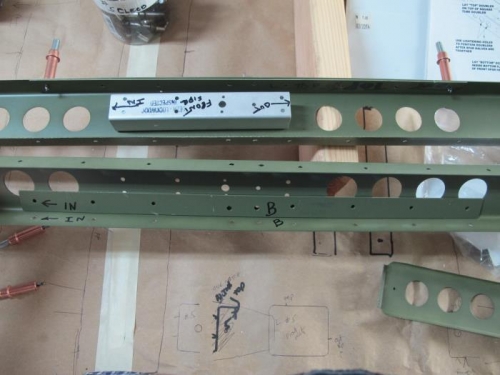
Picture 5 shows the rear spar halves with the doubler HS-05, the vertical doubler HS-04 together with the front half of the rear spar, the doubler plate and the anti-drag wire attachment plate HS-06A.