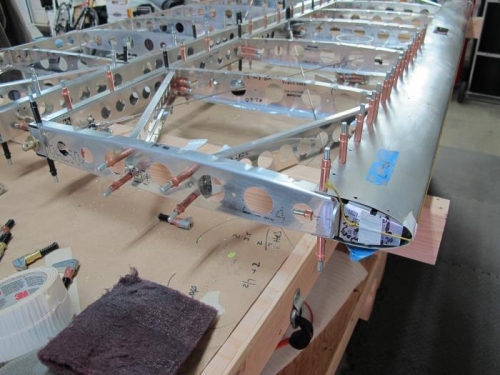
Fit Leading Edge Skin to nose ribs. Attached drag and anti-drag wires. Attaching the drag and anti-drag wires required placing the root end of the frame onto the garage floor and then twising the frame along the then vertical axis into a partial helix shape. This action decreases the distance between the attachment points HS-006 on the frame.
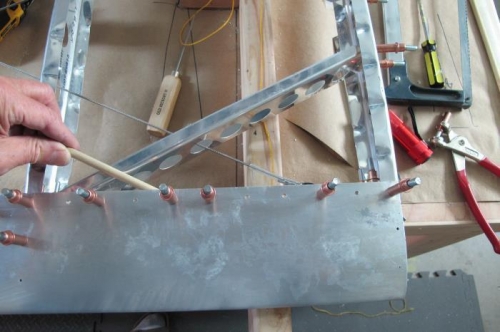
Clamped skin using side-clamp clecos as described in the manual but found I needed more side- clamps because without the additional clamps the skin would "wander" away from the back edge of the front spar. Definately needed help placing the skin. Checked leading edge skin to ensure it was properly alligned without twists.
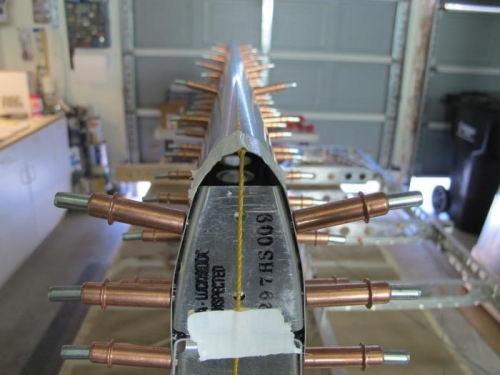
One method of checking for twisting required attaching 2- 2 x 4's accross the width a each end of the work bench and ensuring they were level both accross their width and then between each other along the length of the table. When the frame was placed horizontaly on the 2 x4's I checked to ensure it was square did not have any twists. After the leading edge skin was attached I placed the frame in the vertical position across the 2x4's at each end of the table as shown in picture no. 2 then ran a string along the leading edge. When the string ran directly along the leading edge and the predrilled holes along that leading edge I knew it did not have any twists. I am sure there are more elegant solutions for this test but short of constructing a jig I felt the leading edge was true.