Brief Description: Make and Install Alternator Wire Run
Getting closer to finishing the firewall forward. Today was electrical day. I increased the alternator wire from plan 8AWG to 6AWG, so naturally, I did not have the correct lugs. West Marine nearby is my go to place. Routed the #6 from ANL fuse connection on the firewall, up the engine mount tube, alongside the right sump bolts, around the front sump curve then a gentle 180 turn forward to the alternator connection. Used one C-606 standoff plus some adel clamps to keep the wire clear of the sump all the way around and down the engine mount tube to the firewall. Marked cable for correct clocking on lugs. I will now remove and crimp, shrink wrap and include connection rubber cover. I will finalize the starter wire before removing this so I can rest assured that the total route is correct. All clamps in these photos are not tightened yet. A couple still have safety wire squeezing them together for ease of tightening.
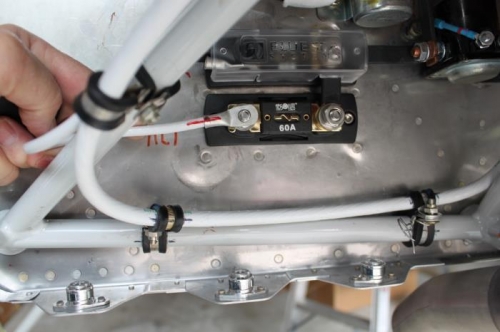
Alternator cable marked for correct clocking at ANL connection.
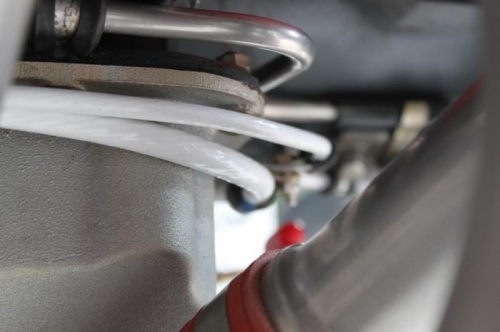
Held solid away from sump around forward right corner.
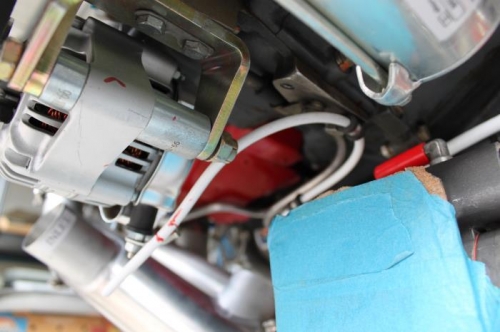
Clamped on block and curved to final connection plus clocking marks.