Brief Description: Finish Drilling Bottom of Leading Edge
I started at the leading edge, continuing from yesterday's drilling of the top side and began to drill the bottom of the leading edge. I did the same pattern of starting in the middle of the top row and alternated to each side back and forth pushing the skin tight on the way down. You have to manipulate the very top rib flanges to get them perfectly in position because that tip rib flange is not always stiff enough to remain still. I used the wooden dowel to reach into the middle of the wing and I reached inside for the several of the inner and outer ribs. Everything went together perfectly. The tank connector flange strip is only 36 inches long and the plans call for 36 1/2. I noted from other builder sites that this was typical from Vans and to just center the strip so each end is the same disatnce from the main spar. This leaves a bare minimum spacing for drilling the 1st and last holes through it. I had to keep borrowing clecoes and the main skins are pretty thin on clecoes now. However, the inboard skins will be coming off soon to enlarge the #40 holes to #30 where all the ribs meet the main spar. That will give me some more 3/32 clecoes as I replace them with the copper 1/8 inch ones. When I disassemble this wing, I need to 1) Finish drilling a 5/8 hole through all the main ribs for electrical conduit. 2) Round off all the squared corners on every rib, like on the rib flanges that rivet into the main spar web, etc. 3) Drill a hole in leading edge skin matching the existing tie down ring opening in the main spar flange. 4) Trace the leading edge shapre and make two cradles to set the leading edge into so I can rivet it while it is off the wing. The same cradles will be used to make the fuel tank next. 5) Decide about pitot tube location and open that up. 6) Decide on landing light either going into leading edge, or wingtip. 7) Dimple, countersink most everything. Pay attention to where three pieces are together. Don't dimple the 3rd piece by mistake. More to do s later.
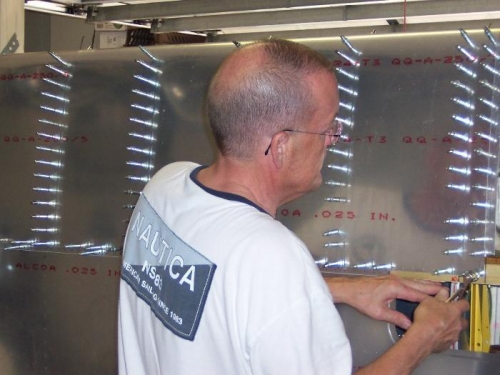
Putting in the Last Clecoe in the Last Hole on Leading edge skin.
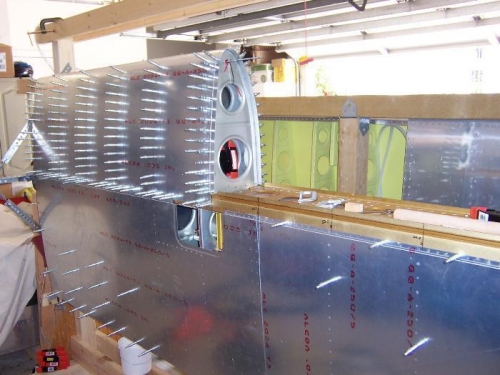
Took all straps off now that it is secured to the main spar flange.
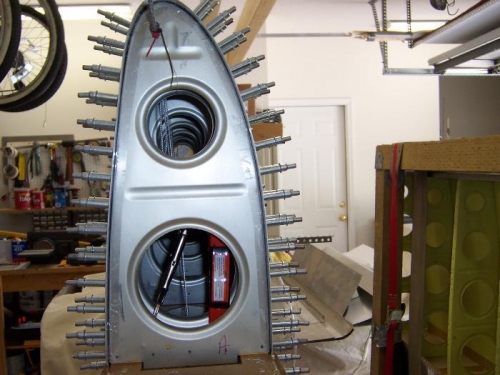
Another one of those pictures you take for no reason.