Brief Description: Finish Top Skins and Trial Fit Aileron/Flap
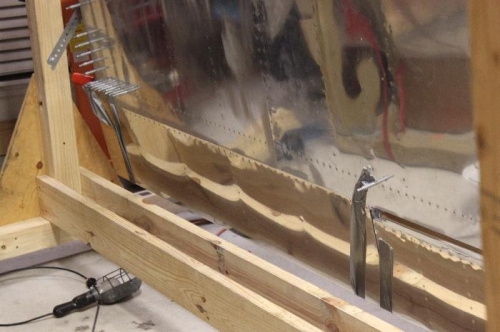
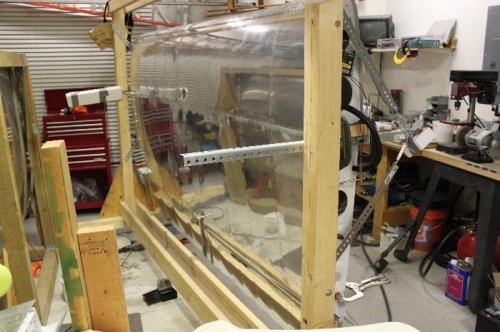
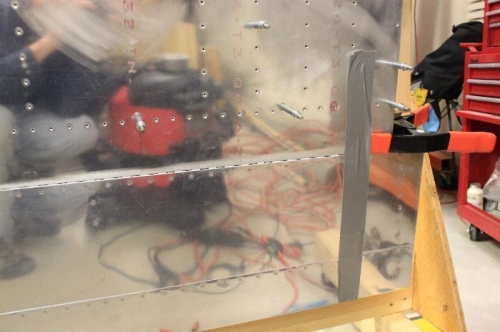
With the help of my wife we did most all the top skin riveting. Only had to drill out three bad rivets. The inner three ribs will be set one at a time and rivet both top and bottom skin and tighten the attach bolts plus pop rivets into the main spar web. Then the inboard bottom skin will get riveted on by me tomorrow. Before riveting the outboard top skin corner, I wanted to cut off the extra metal from the rear spar with my dremel cutoff wheel. It was the flange that you earlier clamped and held in place in order to square up the wing when fitting the ribs. I wedged the corner skin away from the rear spar with some rubber washers and duct taped the bottom of the main rib to protect it and show me if I got too close to that rib with the cutoff wheel. You need to have the rear spar flush with the rib so when you fit the outboard aileron bracket it will sit nice and square to the rib and spar. After the cut, I filed the rear spar edge smooth and flush with the rib. Then I riveted that top skin outboard corner. As careful as I was, I still managed to get a couple minor wing dings using the flush rivet set. You have to be careful and keep it squared to the rivet even though the skin is in a gradual curve almost everwhere. Those will get fixed with some filler prior to priming and painting.