The next step in the instructions is completing the rudder stops. But it requires the rudder to be installed, and it's still in the storage trailer. So I moved on to the next step of the Flap Motor. Not sure why the installation of the flap is here. It's odd that it tells you to install the flap actuator weldment, which goes above the floors. Well, I dont want to install the floor yet...way too much stuff to run yet. I might be fretting over nothing, but I don't want to temporarily install the weldment without at least making spacers to simulate where the floor would be.
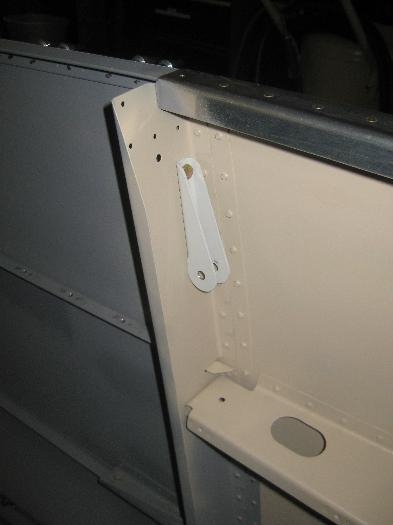
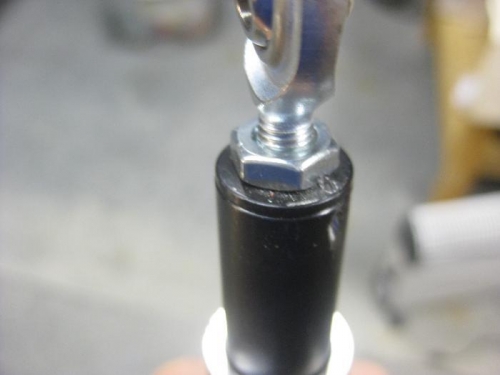
-Anyway, I drilled and deburred the holes in the upper flap actuator attachment and mounted it to the F-807 bulkhead. -Final drilled the three clevis brackets in the flap actuator bracket to 1/4" and deburred. -Drilled the hole in the flap motor for safety wire. This is to keep the rod from spinning and allowing the rod end to spin out. I broke a #50 drill bit in the process, and it took awhile to get the stuck piece out of the hole.
Upper flap actuator attach bracket installed
Hard to see, but there is now a safety wire hole in the actuator rod.