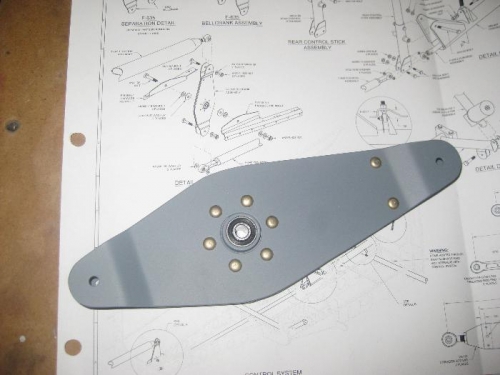
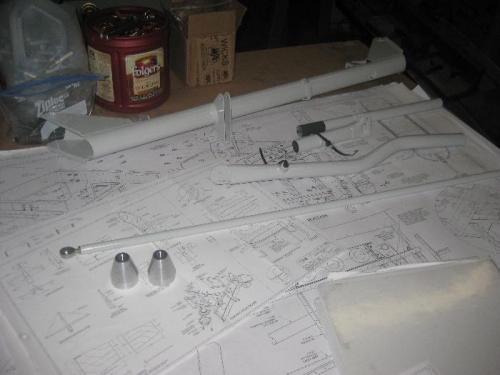
- Separated the bellcrank parts with the bandsaw, edge deburred them, cleco'd them together with the flange bearing, and match drilled the holes -Dissasembled and deburred all the holes -Scuffed, cleaned, and primed the parts after masking off the bearing inserts -Cleco'd and riveted the bellcrank together -Gathered all the parts to make the pushrods and put the control system together -Inserted the rod ends into the F-839-2 pushrod assembly (this goes between the fwd and aft sticks), and adjusted to lenght per the plans -Final drilled all the holes in the sticks and control column per the instructions -Sanded the brass bushings and finished the ends of the bushings to match the taper of the brackets on the control column. Progressively removed material until, when bolted in place, the brackets on the control column clamp on the bushings and just clear the tubes. -Bolted the front and rear sticks to the control column, and inserted and bolted the F-839-2 pushrod assembly between them -Adjusted the rod-end bearings on the F-839-2 pushrod assembly so the sticks were parallel to each other