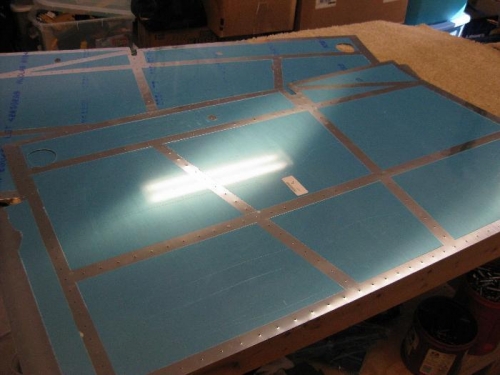
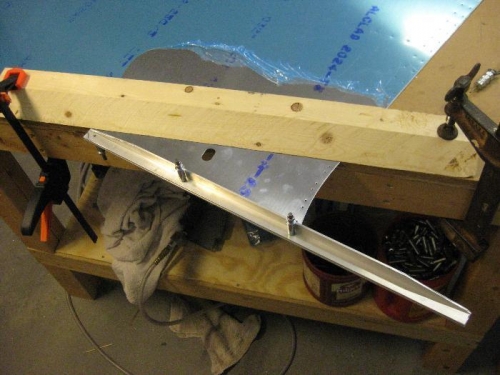
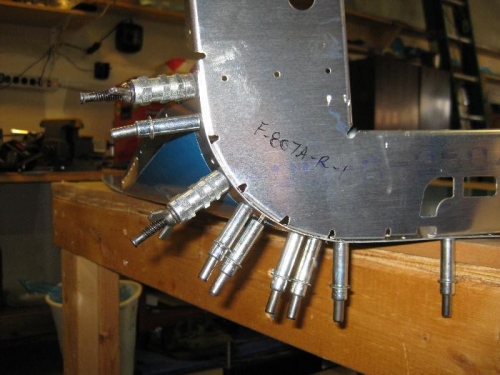
-Did a little league game, shopped for a new mini-van, and still had a great productive day on the plane. Lots of pics today...got alot done! -Using templates provided in the rear seat throttle kit, I cut the holes in the left bulheads for the throttle inter-connect rod. -Removed the blue plastic of death from the rivet lines of the outside of the mid fuse skins. -Cut a nive straight 45 degree angle into a 2x4 and layed out the bed lines for the curved piece of skin at the aft lower portion of the mid fuse skins. -Followed the instructions to a T, and it all turned out good. Clamped it all down, fit and clamped the angles to the edge and bend and formed the curve. Did this for both the left and right skins. -Clekoed the center section to the mid fuse/seat rib assembly -Final drilled the holes between the forward inboard seat ribs and the seat ramp supports on the center section. -Got the fly cutter out on the drill press and cut rear seat air vent hose holes out in the right outboard seat rib and the right mid fuse skin. -Clekoed the outboard seat ribs and angles to the seat rib assembly. -Clekoed on the skins and F-807 bulkhead assembly.
New hotter soldering iron made this job a breeze...