
|

|
|
|
Todd's Web site
|
Date: 6-8-2007
|
Number of Hours: 2.00
|
Manual Reference:
|
Brief Description: Left Fuel Tank #11 - Ribs
|
|
Well, I finally back in the game. After a 3 week TDY, completing a massive list of honey-do's, celebrating the arrival of my baby girl (see previous post), getting her settled in, and finally having that huge garage sale to get all the stuff out my garage...I've got a shop back and will once again start plugging away. I have to at least get this tank done by the end of July, as that is when my pro-seal shelf life expires. Unfortunately, that means I will have to buy another can of it when I get to the right tank.
I decided to forego Van's fuel tank instructions and use the Rick Galati "Fay" sealing method that seems to growing in popularity. It makes total sense to me and it really does make the job cleaner.
I started by scoring all the mating parts with the maroon scotchbrite pad, then thoroughly cleaning with MEK. Then I 100% clekoed all the ribs to the skin. I then removed the 2nd & 3rd ribs from inboard and mixed up some pro-seal. I used 50 grams of sealant with 5 grams of hardener, and that seemed to work pretty well for 2 ribs.
After once again cleaning with MEK, I re-clekoed every hole of each rib into place after buttering up both the skin and rib flanges with the sealant. I verified there was adequate "squeeze-out" of sealant all along the rib, and then formed an uninterrupted fillet seal along each edge with a popsicle stick.
After that, I just cleaned up a few spots of errant sealant with an MEK soaked rag, and I was done for awhile. Time to let it set up for a bit...
|
|
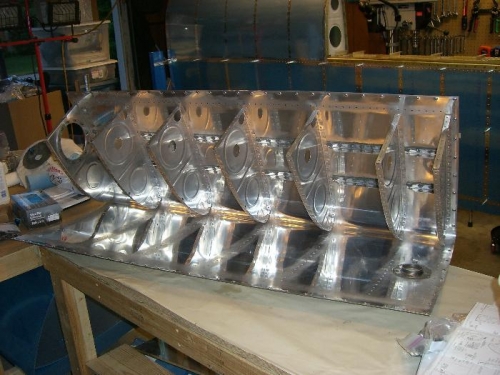
Wrestling the tank together
|
|
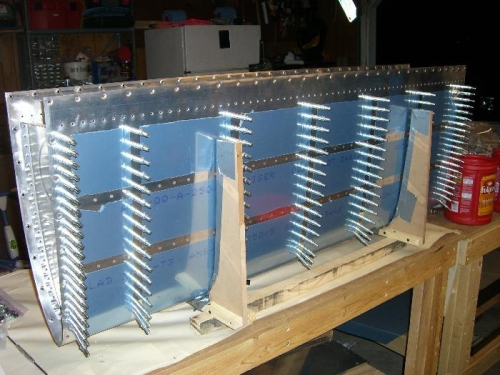
Ribs 100% clekoed in place
|
|
|
|
|
|
|
|
|
Copyright © 2001-2024 Matronics. All Rights Reserved.
|