
|

|
|
|
Swinnys 4 Place Bush Explorer
|
Date: 1-23-2014
|
Number of Hours: 6.00
|
Manual Reference:
|
Brief Description: Left wing aileron assembly
|
|
Today I finished the pilot holes in the skins and made the leading edge cut outs as per the drawings.
Unlike the flap, the cut out for the aileron hinge needs to be made further around the leading edge due to the aileron moving both up & down.
For the flap I made this cut out finishing much closer to the leading edge.
After having drilled all of the 3/32 pilot holes, I then placed the aileron into position on the wing to check for the correct alignment. Perfect!
By doing this proir to drilling for the 1/8 rivet holes, if either more or less twist in the aileron or flap is required, it can be accomodated when drilling for the rivet holes by clamping to the table with the correct amount of packing.
Very pleased with the minimised gap between the top wing skin and the aileron, I am sure this will reduce drag.
I then removed the aileron and drilled out to 1/8 holes all over.
Tomorrow I will dismantle, debur, prime inside the skins and hopefully fully rivet the assembly.
Having looked at a number of other builders recorded hours for the Aileron & flap assembly, plus what is proposed in the assembly manual, I am amazed. Either I am the slowest builder ever with a watch that runs twice as fast as everywhere else, or there are many who just drill 1/8 holes and place rivets without deburing and priming!!!
|
|
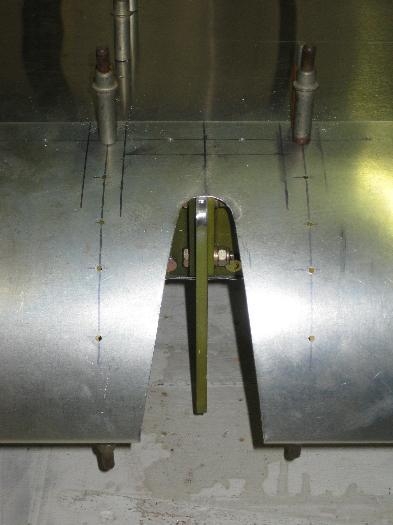
Leading edge cutout.
|
|

Fully drilled in 3/32 pilot holes
|
|
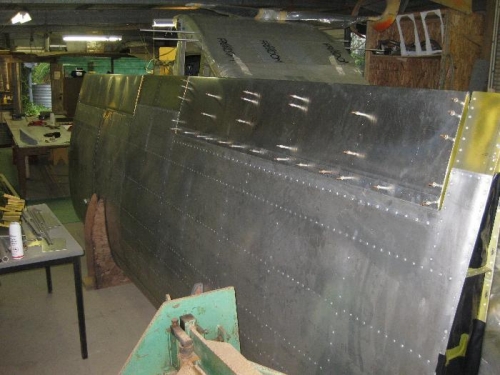
Checking alignment on the wing.
|
|
|
|
|
|
|
|
|
Copyright © 2001-2025 Matronics. All Rights Reserved.
|