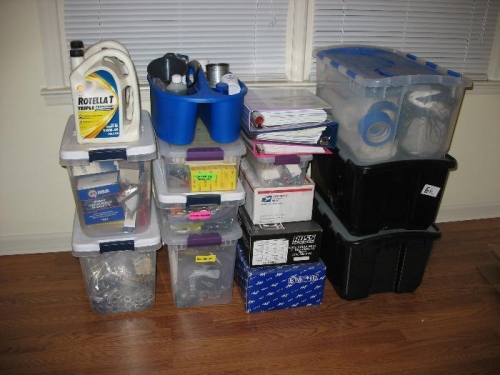
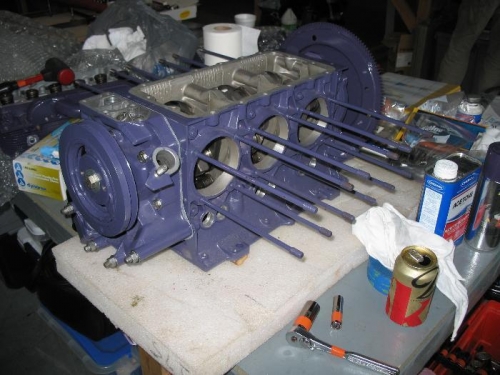
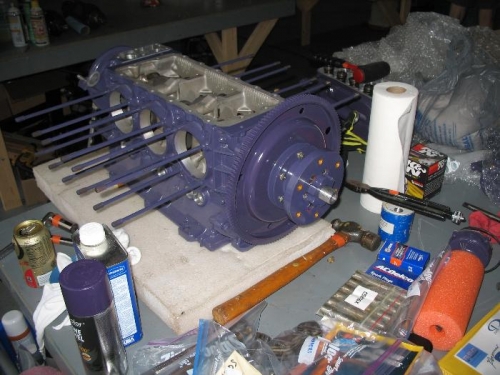
The engine assembly was completed at CC $29 just prior to Sun-And-Fun 2014. It was a fast paced two and a half days but well worth it. Key to getting it done was prior planning to be sure I had all the parts and materials with me that I would need. These were all sorted out and boxed up for the trip.The arrival at CC29 was Friday evening so not much could be done but everything did get unpacked and organized. The work started early on Saturday and that was when the two ends of the case were finished off. In photo 2 you will see the engine after the rear accessory case was mated and the Harmonic Balancer attached. One of the few preps that I neglected was painting the Harmonic Balancer as it is made of steel and would soon rust if left in it's raw form. Fortunately I brought paint and related materials so that was done quickly. The finish on that part could have been better but it started to rain while drying. With that starter ring in place along with the prop hub all the attachments were torqued to spec. Eventually there will be a hole drilled through the Safety Shaft to match the castled nut on the end but the recomendation was to wait until after the test run so that we could be sure there would not be a need to disassemble the front end to fix an oil leak.