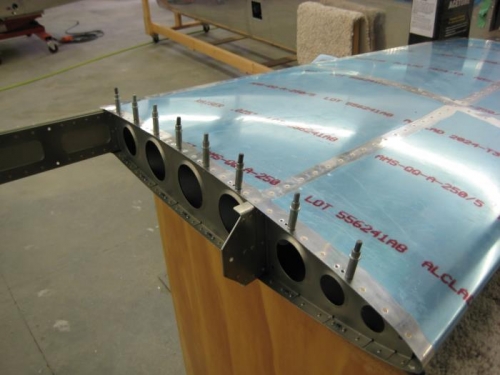
Locate and match drill fairing nut plates to lower edge of VS, 6-32 screw used for alignment, drilled using #40 drill, cleco as drilled.
Remove clecos.
Debur all holes.
Dimple all hole using hand squeezer except where noted in plans.
Machine c-sink remaining hole for flush rivets.
Dimple nut plate mounting holes using hand squeezer.
Cleco nut plates to VS.
Rivet nut plates using p-squeezer.
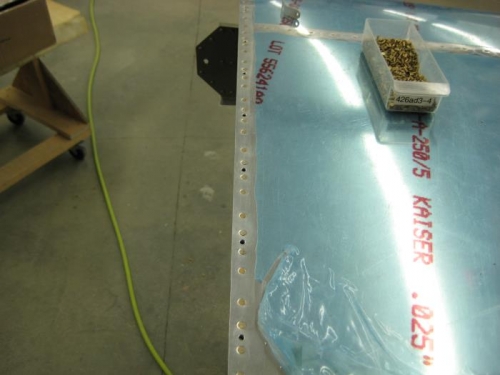
Cleco 3 nut plates to tailcone top skin.
Rivet nut plates using 3x rivet gun and tungsten bar.
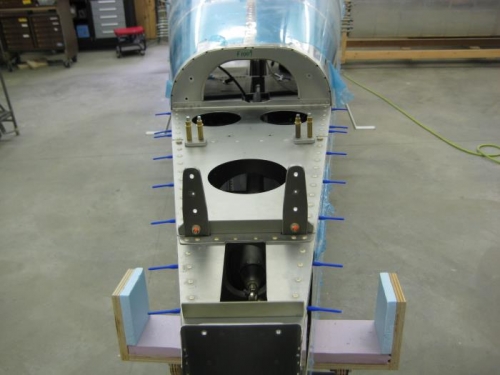
After tapping one hole for the gap fairing specified in the plans, I noted that there were very few threads available for the screws to engage. I decided to use click bond nut plates for these holes.
Holes were drilled for a 6-32 screw using a #27 drill.
Debur holes.
Prepare surface for structural epoxy using coarse s/p and cleaning with click bond surface prep wipes, prepare nut plates with surface prep wipe.
Apply structural acrylic epoxy to nut plate base.
Install in holes from back side, per instructions.