
|

|
|
|
Bobs Ten
|
Date: 5-24-2015
|
Number of Hours: 3.50
|
Manual Reference: 43-10.5.6, -12.1.2
|
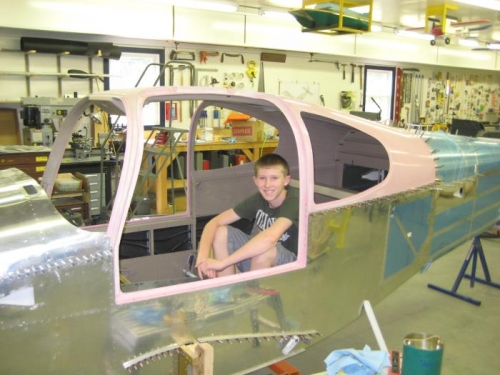
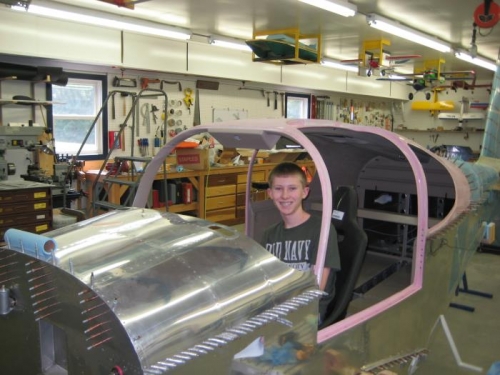
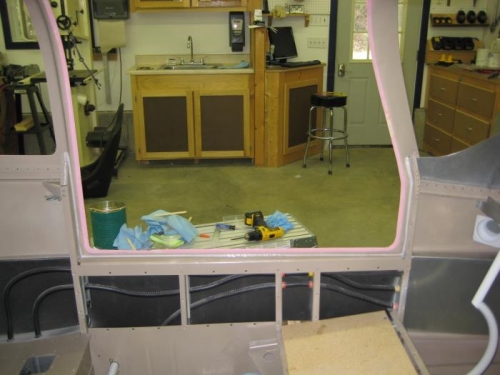
Brief Description: Install Cabin Top
|
|
1230 - 1600
Rivet baggage bulkhead channel to F-1006 using p-squeezer.
Trim upper baggage area bulkhead panel to allow for weather strip to seal overhead console.
Apply self adhesive 1/8 x 3/8 weather strip to F-1006 along console flange.
Position cabin top in fuselage with approximately 1 inch clearance on the bottom deck.
Lay out specified hardwar for cabin top install.
Mix epoxy/flox/cabo, and using a syringe, apply a bead on the fuselage deck beneath the cabin top door channels.
Lower the cabin top into position on the fuselage deck, squeezing out epoxy mix thus forming a complete bonding filler on the bottom door channel.
Cleco mid fuselage side skins to cabin top and rivet strip.
Cleco forward top tailcone skin in place. This skin will not be riveted until later to provide tailcone access.
Insert all AN FH screws in door channels.
Install washers and AN365 nuts on screws.
Tighten each screw and nut until just snug, noting any door channel deformation. Adjust tightness to alleviate any deformations.
Create fillet along bottom door channels, remove excess epoxy.
Remove excess epoxy from exterior fuselage sides.
Apply epoxy mix between fuselage decks and door channels, using syringe.
Create fillets.
Remove excess epoxy fro fuselage deck and door channels.
Comments on this section: You really need a few people to make this go really smooth. Kyle and I used slow set epoxy and it was JUST enough time to allow hardware installation, tighting, filleting, and cleanup before the epoxy set. I have to say that this section was one of the more challenging ones, thus far. I am happy that the cabin top is now a permanent part of the fuselage.
IT LOOKS LIKE AN AIRPLANE!!!!!!
|
|
|
|
|
|
|
|
|
|
|
|
|
|
|
Copyright © 2001-2024 Matronics. All Rights Reserved.
|