Brief Description: Final Installation of Tail Rotor Drive Shaft
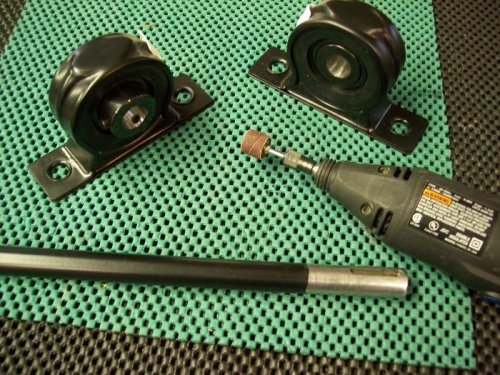
After I painted the drive shaft, I noticed several light areas that needed touch up. I ended up sanding down the entire shaft and re-painted it. The next morning the paint was dry enough to allow the installation of the bearings. I had to lightly grind the ID of the bearing so they would slide down the shaft and not bind and gouge the paint.
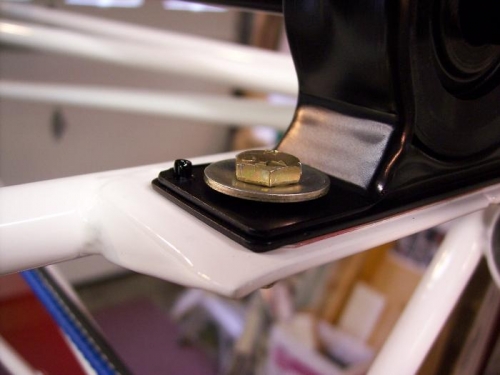
It took most of the day just to make the individual shims for each bearing. After the shaft was placed in final alignment, the bolts were torqued and safetied. Pins were staked into the mounting flange (one on each side) of each pillow block bearing housing to assist in re-aligning the shaft if it ever needs to come off. These pins should also keep it from moving in the slightest.
I used blue Thread Locker on the hex head screws and torqued them to 55 inch pounds (the same as the Taper Lock bushing on the front of the drive shaft). Before tightening the screws I alternated each pillow block bearing so the set screws would be at the 6:00 and then the 12:00 position. I don't know if this helps the balance of the shaft any but it seemed to make sense.
tools for honing the bores
Index pin staked just to the left of the bolt head