
|

|
|
|
Peters Web Site
|
Date: 1-24-2021
|
Number of Hours: 3.50
|
Manual Reference: 9225501-LOG-13.019
|
Brief Description: 2: Sliding Canopy
|
|
After very carefully lining up the plexiglass bubble to the canopy frame, checking centrelines and dimensions, then checking centrelines and dimensions again, I finally started drilling little holes.
Starting front centre, and working my way rearward and downward, I drilled #40 holes at 2" centres all the way around the frame. This was a very slow process, drilling just two holes at a time, clecoing into place, then moving to a different section so as to ensure the plexiglass sat flat on the frame all the way round.
It's very important that all holes are drilled on the centreline of the tubular steel bows, and to aid in this the instructions make mention of a little trick. If you lay masking tape on the frame, then a faint dark line will appear where the plexiglass makes contact, thereby identifying the point for drilling. It works really well.
Continued next post.
|
|
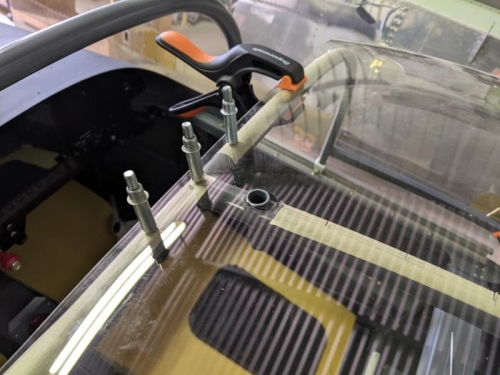
The match drilling has started
|
|
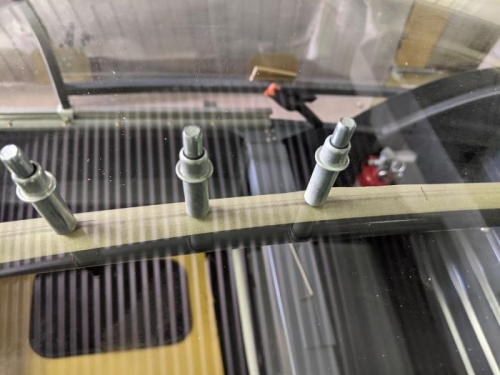
Using masking tape is a great trick for identifying the centreline on tubular steel sections
|
|
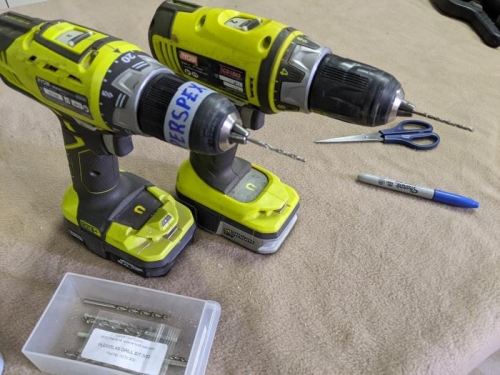
One drill for plexiglass, one for steel
|
|
|
|
|
|
|
|
|
Copyright © 2001-2024 Matronics. All Rights Reserved.
|