
|

|
|
|
Peters Web Site
|
Date: 1-23-2021
|
Number of Hours: 2.00
|
Manual Reference: 9225501-LOG-13.017
|
Brief Description: 3: The Big Cut - Part 3
|
|
After the big cut was done, I then laid the frame back inside the main canopy section, using spring clamps to hold the two pieces neatly together. I then marked out the cut line for the canopy sides, and also the rear edge, all of which I had left oversize when cutting previously.
I can see the benefit of making the first cuts very conservatively, because now that the windscreen portion has been cut off the sliding canopy part now fits a little differently (albeit better) into the frame.
I laid out the three cut lines with insulation tape, and again got to work with my Dremel.
With the last of the cuts done I then started on sanding the cut edges smooth, to prevent any stress cracks from developing later in life. Starting on the back edge, I first sanded out the rough cut marks with 80-grit, and then progressed through 120, 220, and finally 400-grit wet-and-dry, until the edge had a beautiful smooth finish.
I need to stop there for today (my BHP work beckons), so will finish off sanding the other edges later, hopefully tonight after the temperature drops a bit.
|
|
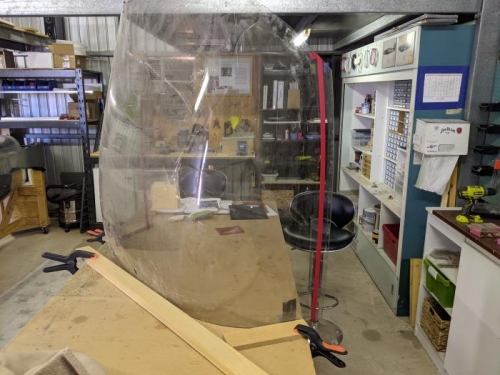
Preparing to cut the canopy sides
|
|
|
|
|
|
|
|
|
Copyright © 2001-2025 Matronics. All Rights Reserved.
|