
|

|
|
|
Peters Web Site
|
Date: 1-12-2020
|
Number of Hours: 3.50
|
Manual Reference: 9225501-LOG-13.011
|
Brief Description: 2: Trimming the Perspex Canopy
|
|
After drilling the hole for the canopy latch mechanism, I then laid the frame inside the upturned perspex bubble and marked out some intial (and very conservative) lines for trimming the perspex to the frame.
Armed with my trusty Dremel, I then set about trimming the perspex back close to the bottom side edges of the frame. The instructions are somewhat lacking here, in that they do not make any mention of how or where to trim that portion of the perspex that sits forward of the sliding canopy frame. I spent ages pondering the drawings before finally deciding that a continous cut line, from the slider section, through to the fixed windscreen part, would be okay. Here's hoping!
I actually made my cut so conservative that I'll need to make at least two more, but that's okay, I want the practice. Working on the very expensive perspex canopy is extremely worrying, so it's very much a matter of "go slow, very very slow!".
|
|
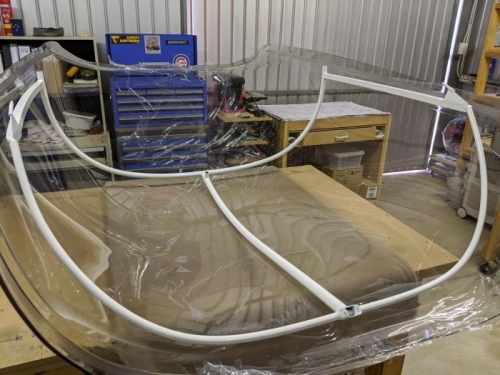
The canopy frame sitting in the perspex bubble
|
|
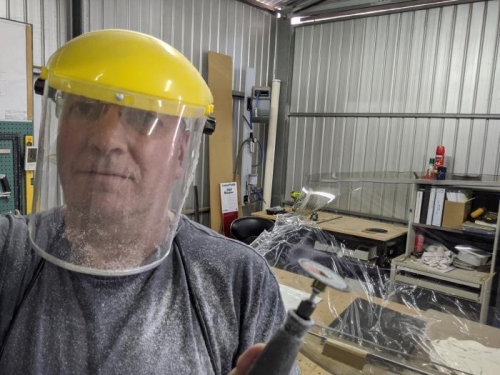
The fall-out from trimming one side of the perspex frame!
|
|
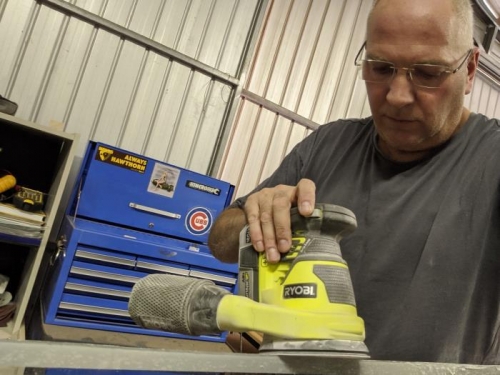
Just seeing how the orbital sander deals with the cut edges of the perspex ... pretty good actually
|
|
|
|
|
|
|
|
|
Copyright © 2001-2024 Matronics. All Rights Reserved.
|