
|

|
|
|
Peters Web Site
|
Date: 1-12-2020
|
Number of Hours: 1.50
|
Manual Reference: 9225501-LOG-13.010
|
Brief Description: 1: Drilling the Canopy Latch Handle Hole
|
|
Today I started on the perspex canopy. The instructions say to find the canopy centre line by finding the midpoint between the production flanges ..... um, my canopy has been delivered without any flanges. I also note it's not a matter of simply measuring from one side to the other and marking the midpoint, as the edges are clearly different on each side. I do note, however, some nice neat markings at both ends which appear to identify the centre line, so I used these. I'm guessing this is yet another example of Vans instructions being outdated.
I used a 2m length of 3mm aluminium strip, clamped at each end, as a guide for marking the centreline on the perspex. With the centreline marked I then flipped the perspex canopy upside down and carefully laid the frame inside, moving it back and forth to find the spot where it best matched the shape of the bubble. Happy with the location, which is a little tricky to determine due to the handle tube sticking up, I then marked the position for the handle tube hole.
I very gingerly drilled a #30 pilot hole using a perspex drill bit, then enlarged up to 5/8" using a couple unibits. The last couple steps of the bigger unibit felt very uncomfortable. I went very slowly, and with very little pressure, as I could feel it wanting to bite. Despite following the plans and instructions, and drilling to 5/8", the hole is actually too small. I'll file it out the rest of the way.
|
|
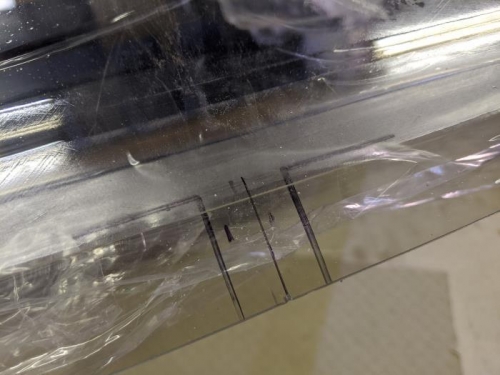
I used the factory markings to determine the centre line
|
|
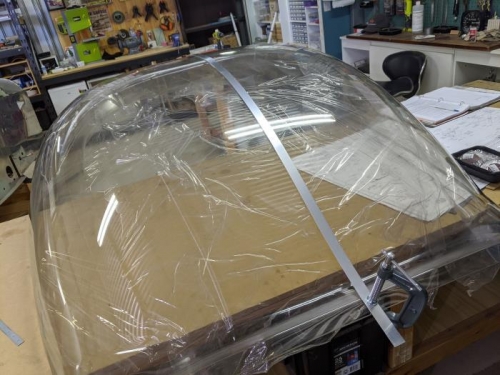
Marking the canopy centre line
|
|
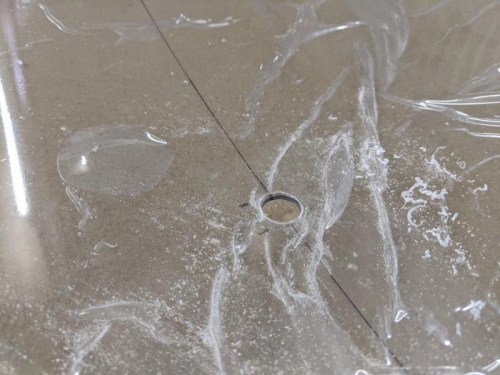
The first hole
|
|
|
|
|
|
|
|
|
Copyright © 2001-2024 Matronics. All Rights Reserved.
|