Today I started some real work on the sliding canopy and got to a point where I could fit the frame atop the cockpit. Awesome!
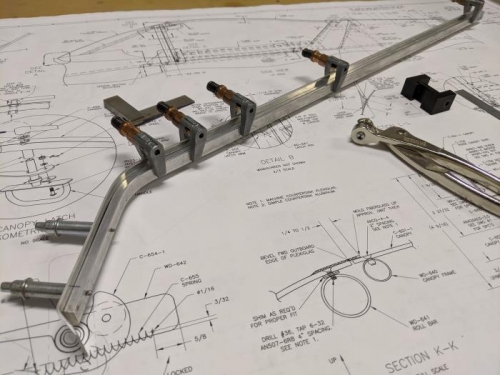
Following the instructions, I started by drilling the black slilde block and bolting to the rear of the canopy frame. Then I made up the slide rail, being very careful to make sure all the bolt holes are aligned mid-point between existing fuselage rivets. I had to reposition a few to make this work. I also added an extra double-flush rivet near the rail bend to pull the "top hat" piece in tight to the spacer.
With the slide rail parts match drilled, countersunk, deburred and alodined I then rivetted it together, and taped it into place on the rear turtle deck.
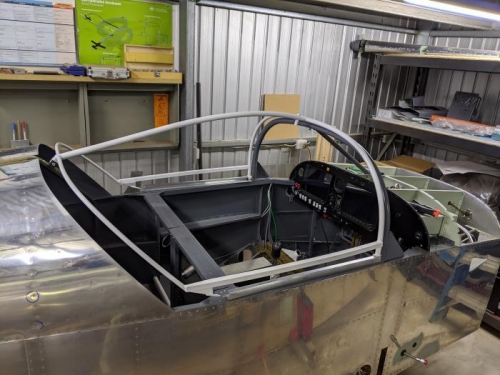
I finished off today by installing the canopy frame and checking the natural alignment. It would seem I've got some bending to do to get the bow to properly match the fuselage. I also note that the front of the frame is too high, so will need to lower it by quite a bit.
Anyway, the canopy is started.
Fabricating the canopy slide rail
Sliding canopy frame sitting in place
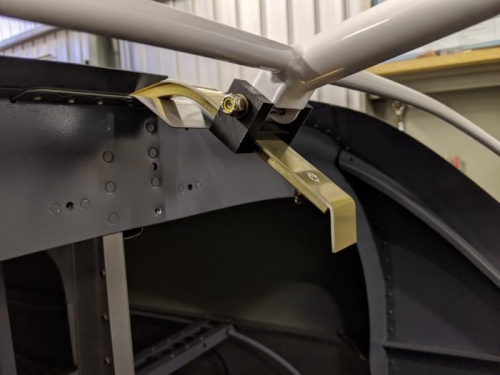
The rear canopy attach block seems to slide nicely on the rail