With the landing light mounting plate in position, next step was to make the perspex lens.
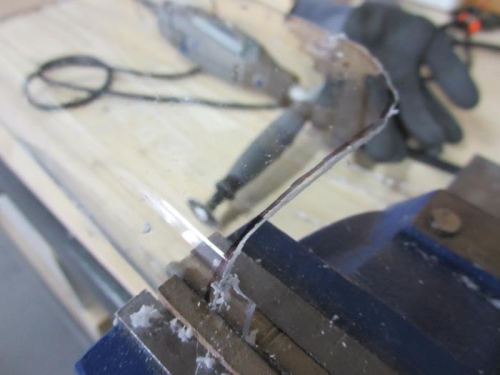
I marked the lens to final size/shape and cut away the excess with my dremel. The belt sander then made short work of trimming back to my mark-out lines. A quick pass with some fine sandpaper and the lens was very neatly finished to final shape.
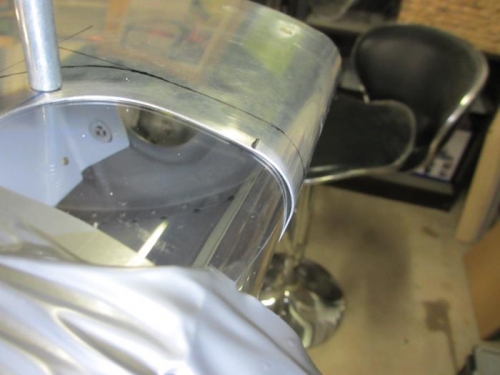
With the lens in position in the wing, I then match drilled the screw holes. On eht left wing I was a little careless with this and ended up with a gap between the lens and wing skin right at the nose, so this time I was much more careful. I still ended up with a small gap, however it is very small and hardly detectable. This one is much better.
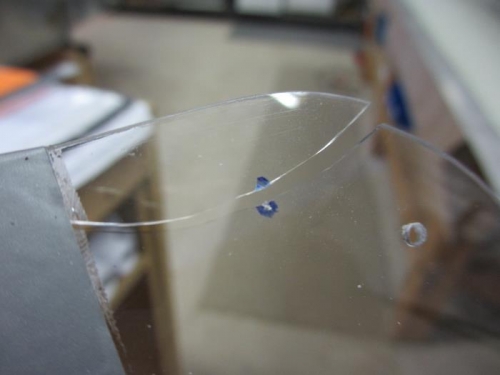
Then it went downhill. So that I could identify which retaining plate went at which end of the lens, I wanted a very small "dot" on the lens and matching retaining plate on the underside end. On the previous lens I made the "dot" in the lens by lightly twisting a small drill bit in my fingers. Not sure what I was thinking, but on this one I picked up my automatic centre punch. The result - a nicely cracked piece of perspex!
When the lens is installed the crack will not be visible, so I'm going to finish the piece and install it, anyway, however I'm also now going to bring home two new lens pieces from Oshkosh when I visit in July.
Cutting the perspex lens to shape with my dremel
A much better fit achieved on this wing
Do not try to centre punch a small dot onto perspex. What was I thinking!