
|

|
|
|
Peters Web Site
|
Date: 10-22-2017
|
Number of Hours: 2.00
|
Manual Reference: 9225501-LOG-04.023
|
Brief Description: 3: Stall Warning Switch
|
|
To finish this fine Sunday off, I thought I'd get a start on the stall warning switch that needs to be fitted to the leading edge of the left wing. The instructions are written for a retrofit, however my QB kit has all the holes already predrilled, so this should go relatively quickly.
There's a square inspection panel in the leading bottom wing skin already, and the first job is to match drill the doubler plate that acts as the surface that the inspection plate screws to. I then smoothed, deburred, dimpled and alodined. See the second picture below.
The next step for RV-9 builders is to drill a hole in the main wing spar. Apparently RV-7's and 8's already have this hole, however RV-9's do not. It's needed so you can get the control wire to the stall warning switch, which is mounted out in the very front edge. This is quite disconcerting, drilling a hole in the most critical component of the entire airframe. I read the instructions multiple times to make sure I understood correctly, before drilling a 3/8" hole. See picture 3.
Once drilled I gave it a quick squirt of grey primer. Looks agricultural, but I'd rather that than provide an avenue for corrosion to get a foothold. Plus it won't be seen anyway.
I'll pop a plastic grommet in this hole tomorrow when the primer has dried.
|
|
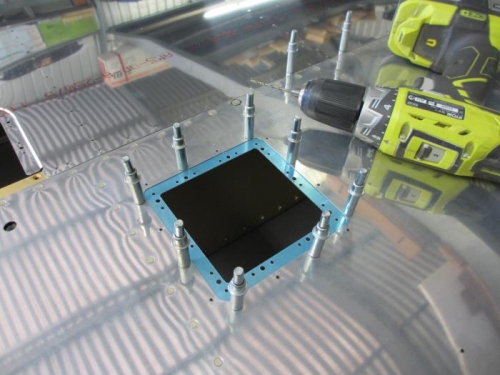
Match drilling the inspection plate doubler to the wing skin
|
|
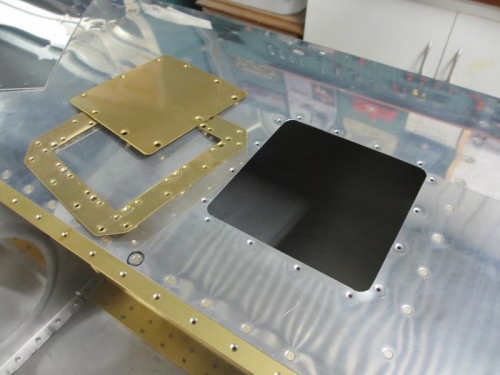
Doubler and inspection plate all drilled, smoothed, deburred, dimpled and alodined, ready for priming
|
|

Nervously drilling through the main wing spar
|
|
|
|
|
|
|
|
|
Copyright © 2001-2024 Matronics. All Rights Reserved.
|