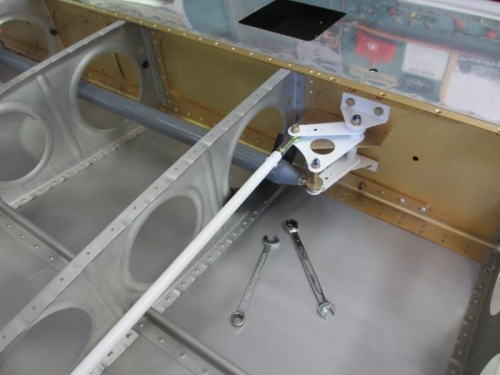
With not much more to do on the right wing I next turned my attention to the left. I started by attaching the aileron control rod and arm. This took all of 10 minutes. I also bolted in the neutral position bracket onto the bellcrank.
With that out the way I then started on the pitot tube installation. I'm using a Dynon Pitot and a Gretz mounting bracket. Although the bracket looks to be very good, the instructions that come with it are extremely hard to read. Just one slab of fine print text with every sentence flowing straight into the next, which makes it really hard to follow....but, with focus and perseverance, follow I did.
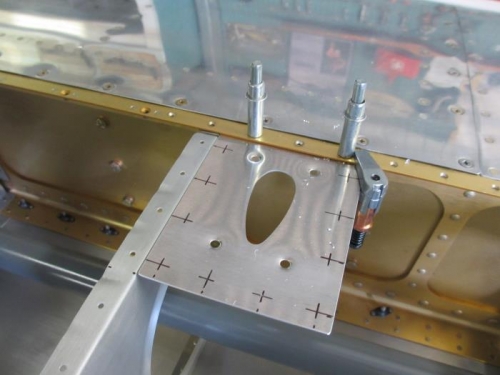
I first match drilled the base plate (shown in photo 2 below) to the spar flange holes, before then marking and drilling the ten perimeter holes that will ultimately attach this piece to the bottom skin.
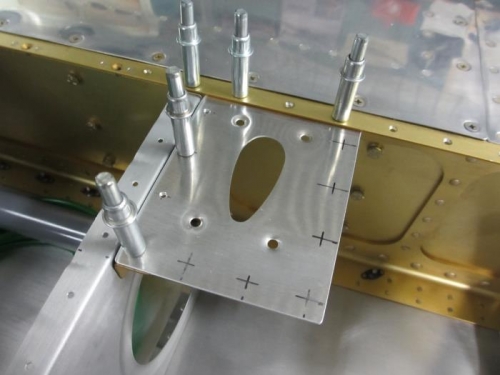
Next I made up a small angle bracket that will attach the baseplate to the wing rib. After alodining the angle, I then riveted it to the rib.
I finished off today by cleaning up and painting the pitot mounting tube (no photo). I'll let this properly dry overnight, before doing any more.
Attaching the left aileron control rod and arm
Preparing the pitot tube mounting plate
A little further advanced. You can just see the alodined angle bracket attached to the wing rib