Brief Description: Dimpling tank parts and final test fit
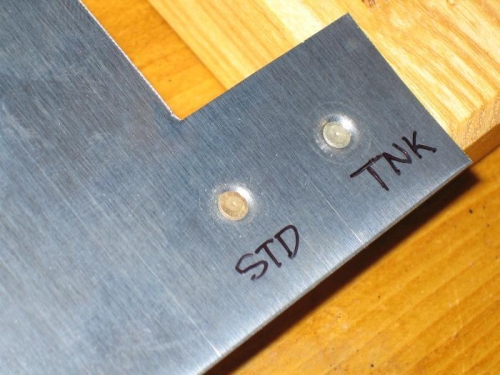
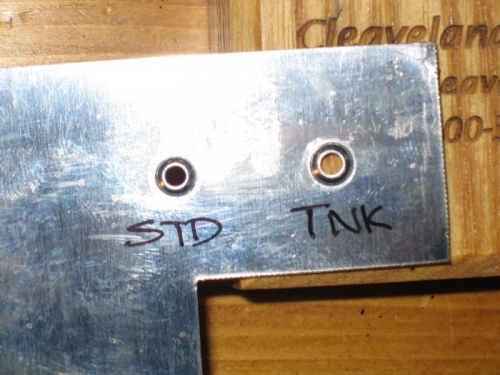
I fabricated the port fuel tank using standard dimples with good results but want to try the special tank dies for the starboard side. The pictures below show both the outside (flush) and shop side of a piece of dimpled aluminum. It is hard to see but the dimple is slightly deeper using the tank die versus the standard 3/32" die. It actually shows a little better in the picture taken from the back side. I am thinking this dimple will work just a little better when wet-setting the rivets but that remains to be seen. Maybe it will eliminate or reduce the need to "dress" the dimple with a deburring bit just before setting the rivet. Again, we will see when actually driving the rivets. This is very much a learning process for me.
Using the new tank dies, I dimpled the tank skin, stiffeners, and the ribs. Additionally, the mating surfaces on the stiffeners were scotchbrited to improve adhesion of the proseal. I then did a final test fit of the ribs to the skin to determine how difficult the procedure might be when prosealing. The ribs in this tank seem to be more twisted than those in the port tank so I expect them to be difficult to insert and line up. The process went fairly well. This assembly was a little easier than the original test fitting (the match drilling and dimpling seems to help). The port tank is now ready to assemble as soon as a new can of proseal arrives from Van's. I hope this tank goes together as well or better than the first. I don't think building fuel tanks will ever be a favorite activity for me.