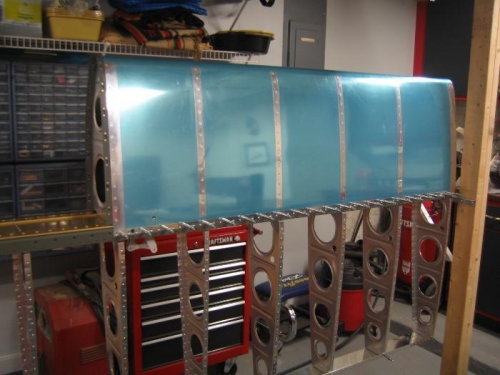
Brief Description: Installed leading edge assembly
After wiping the inside of the assembly with acetone to remove any dirt, oils, fingerprints, etc., and dressing the edges and corners of the sheet metal, I clecoed the leading edge assembly to the main spar. I am planning to use LP4-3 and LP4-4 rivets to attach some of the leading edge ribs to the main spar. I will use solid rivets where possible but rather than buck blindly on the inner most ribs and risk dinging the spar, I will use blind rivets. This alternate procedure has been approved by Van's. Apparently, on some of the newer kits the shop instructions call out blind rivets rather than solid for this application.
I installed a couple LP4-3 rivets and inspected the shop heads with a light and mirror. The rivets look good and the process is much easier than trying to buck rivets that you can't see. The blind rivets should give a consistently better result in this application.
I did have to order an extra supply of the LP4 rivets and will have to wait for their delivery before completing the installation of the leading edge assembly. In the interim, I will complete the dimpling and scarfing of the top skins and get them ready for installation. I should be able to squeeze the rivets attaching the leading edge to the main spar but need to review the shop instructions before proceeding.