Brief Description: Cleco ailerons for final riveting
Today's shop session, as usual, took longer than expected. I began the day by countersinking the holes in the counterweights. Rather than using a #30 countersink, I opted to use a new 1/4" drill bit in the drill press with a pipe jig to hold the counterweight firmly. I got good results without tearing up a countersink cutter. Next step was to put a final coat of paint on the counterweight pipe and wait a couple hours for drying.
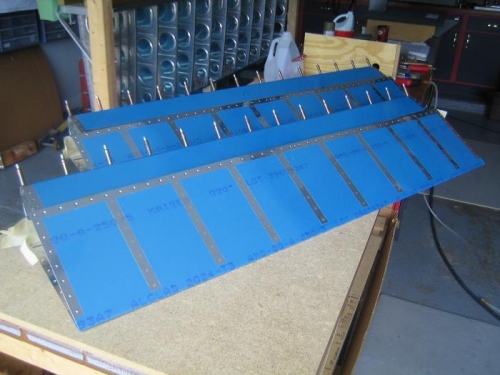
The nose ribs were riveted to the counterweight and the assembly inserted and clecoed into the leading edge skin. Rivets in the top of the nose rib were installed and the assembly was then clecoed to the trailing edge skin (top row of holes attaching to spar). The top skin was then riveted to the trailing edge skin and spar across the top. This was not easy riveting. I had to experiment a bit before I got the right bucking bar and a comfortable way to get my hand inside the aileron while holding the bar and rivet gun steady. It took some time but I got all the rivets inserted with good results.
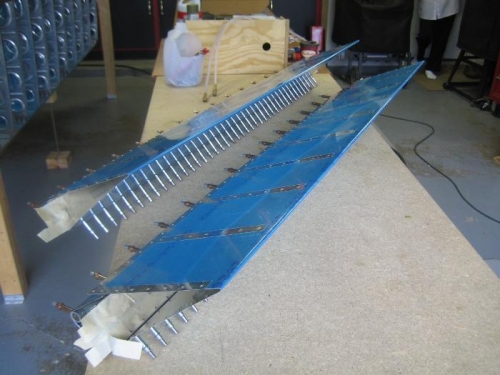
You will notice in image 2 below, the masking tape sticking out the ends of the structure. The tape was placed on the spar so it wouldn't get scratched or dinged during riveting (procedure worked well). After the rivets were bucked, the tape was removed and the bottom skin inserted up under the leading edge skin against the spar flange in preparation for closing the structure.
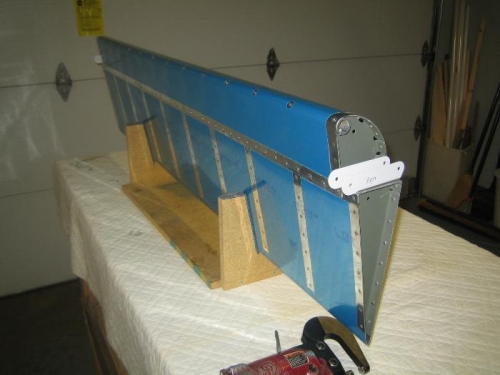
The last image shows the right aileron completed. Overall, I am happy with the results.