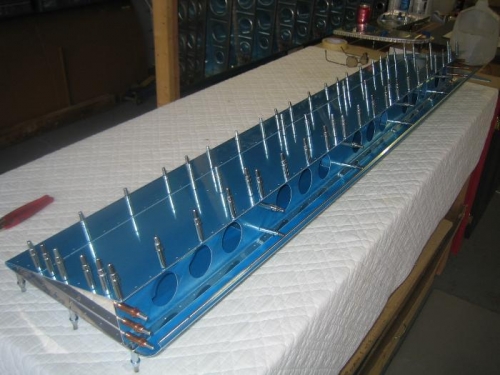
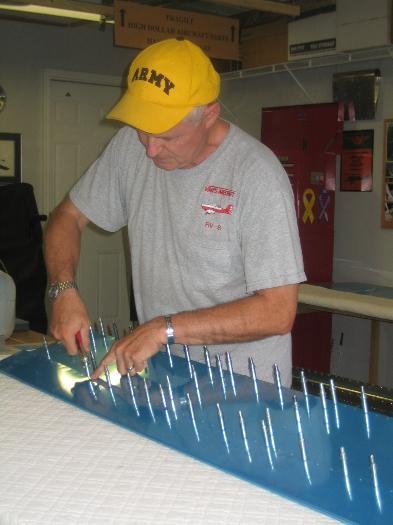
I have completed most of the tasks in preparation for final assembly of the left fuel tank. Remaining tasks include deburring and polishing edges of the tank skin and baffle, scotchbriting all areas where sealant will be applied, cleaning all scotchbrited areas with MEK or naptha, and taping any areas to be protected from sealant.
Like many builders, I am not looking forward to assembling the fuel tanks. So before tackling my first tank, I have decided to take a little break and build something easier. According to the shop instructions, the flaps are the easiest control surfaces to build so that's where I am going next. I began by studying the plans (DWG 14B) and the instructions on page 7-11. Next step was to select the components for the left flap and lay them out on the work bench.
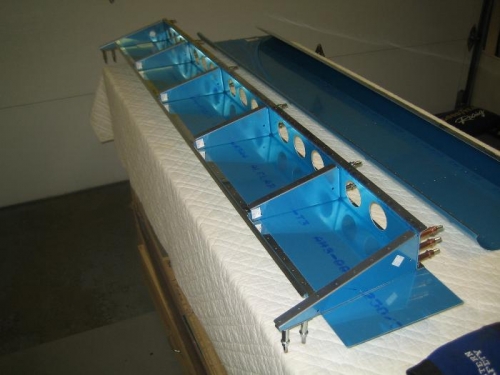
Before beginning the initial assembly and fitting, I removed the plastic coating from critical areas leaving as much in place as possible to protect the aluminum. The ribs were clecoed to the front spar and this subassembly was then clecoed to the bottom skin. The FL-708 spacers were fabricated as well as four (4) shims for mating the ribs to the rear spar. I am not really sure whether the shims are needed or not. I can squeeze the rear spar up against the flange on the rib fairly easily with my fingers but the shims do reduce the flexing of the material. Guess I will make this decision at final assembly.