
|

|
|
|
Pete's RV-8 Web Site
|
Date: 8-7-2009
|
Number of Hours: 4.50
|
Manual Reference: 7-5,6
|
Brief Description: Initial assembly of left tank
|
|
My task for the day was to get the left fuel tank assembled and mounted on the wing for some final match drilling. First on the task list was straightening the tank ribs. This was done with a carpenters square (90 deg flanges) and fluting pliers. The ribs were then clecoed to the baffle (still on the wing spar) and match drilled using a stop to protect the spar.
The next step was to install the skin over the ribs. While doubtful of the instructions, I attempted to do this step while the baffle and ribs were still attached to the spar. I was unsuccessful even when using the tip from the GeoBeck DVD. Finally, I removed the entire assembly from the wing (baffles, Z brackets, ribs, and skin) and built the assembly in a cradle.
The tank assembly was then removed forom the cradle and reinstalled on the wing. The fit was actually better than before. Even the small gap between the skins at the extreme leading edge is now gone (perfect fit all around).
Finished the day by ordering a few items from Van's catalog including some extra clecos (silver), flop tube and no-hole tank access cover (inverted fuel mod), stainless steel pitot tube, tank sealant, tank leak test kit, a fabricated fuel pick-up tube, piano hinge material, extra snap bushings, and some nylon wiring conduit. I will have to find some miscellaneous tasks to keep me busy until the order arrives.
|
|
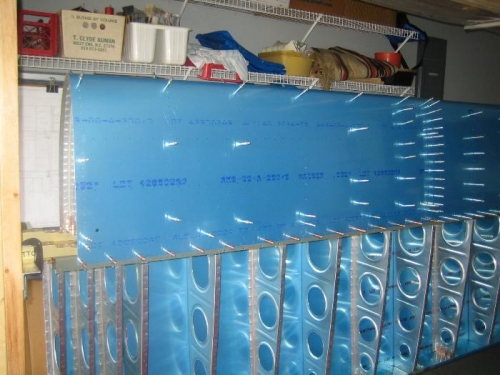
Tank Assembly in Place
|
|
|
|
|
|
|
|
|
Copyright © 2001-2024 Matronics. All Rights Reserved.
|