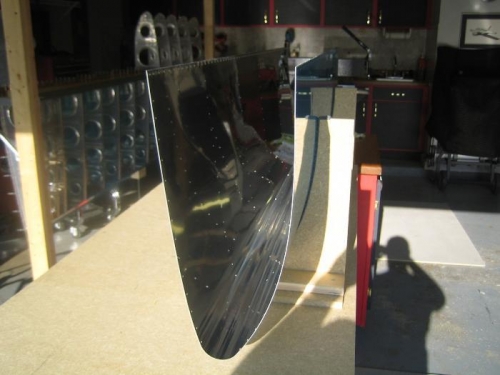
I followed the instructions in Van's manual for the initial assembly of the leading edge. The shop instructions were a bit different than the procedure shown in the GeoBeck DVD. Van suggests building the leading edge in a cradle whereas GeoBeck builds it on the wing stand using ratched straps to pull the skin down over the ribs. The cradle approach worked fairly well for me.
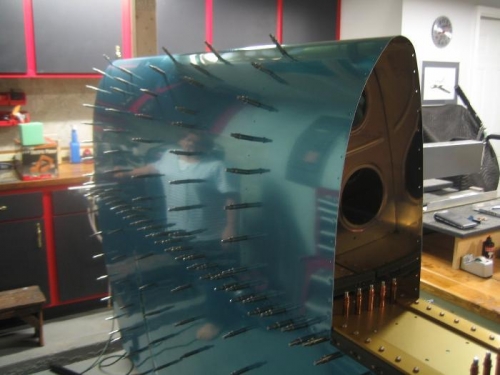
The outboard five ribs were installed in the skins per the shop manual. The leading edge assembly was then placed on the wing, the ribs were clecoed to the main spar and the aft edge of the skins were clecoed to the main spar flange ready for match drilling.
There were a couple ribs that didn't fit snugly at the leading edge even though the holes lined up. These may cause a problem when it comes time to rivet the skins to the ribs. The condition could cause an imperfection in the leading edge skin around the rivet. I plan to look at this potential problem a little later. It may be necessary to either modify the rib or perhaps use a small shim between the rib and skin.
The next step will be to install the end rib in the leading edge (rib joining the tank end rib). This rib must be fitted with a joint plate and match drilled. There are no prepunched holes in this part. I am not sure how difficult it will be to fit the joint plate between the rib and skin (hope it's not too tight).