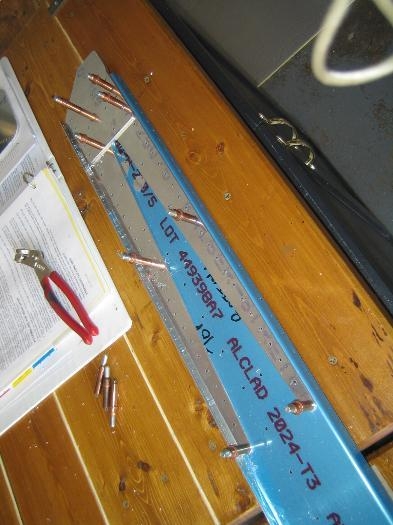
All edges of the spar, reinforcement plates and reinforcement bar were deburred and polished. The light weight thin material can be completed quickly with the scotchbrite wheel, however, the heavier reinforcement bar and plate takes considerably longer. All the tooling marks must be eliminated and that takes time.
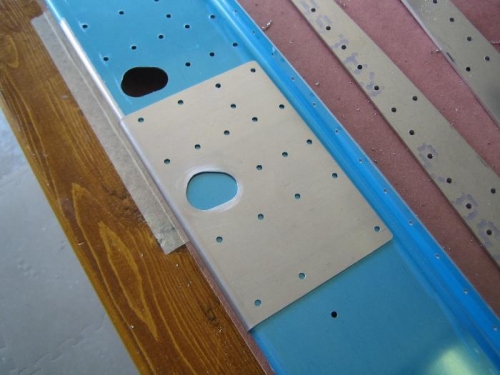
Once the edge deburring was finished, I match drilled all the components and deburred the holes front and back. The irregular shaped hole for the aileron control rod was cut with a unibit and finished up with a Dremel tool and three small sanding wheels (used a course wheel to get down to the line and then a fine wheel to finish). Once the hole was cut, I used some emery cloth to smooth the raw edge.
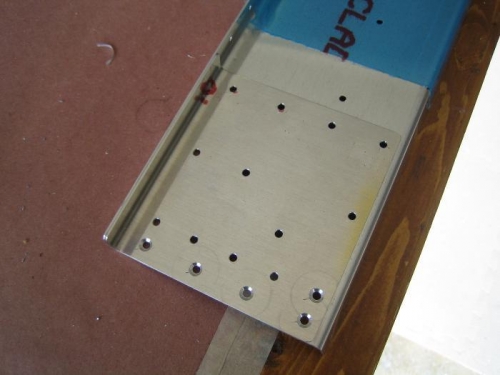
The last step was to machine countersink the five holes in the tip reinforcement plate where the aileron brace will eventually mount. Later this evening, I plan to prime all the components except the spar so they will be ready for final assembly tomorrow morning.
For now, I promised an airplane ride to my granddaughters so its off to the airport (DAY) for a little sightseeing and orientation ride. The girls have flown before in airliners but this will be their first experience in a "little airplane" with their Pap.