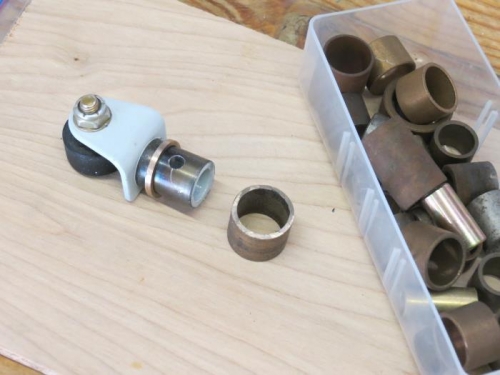
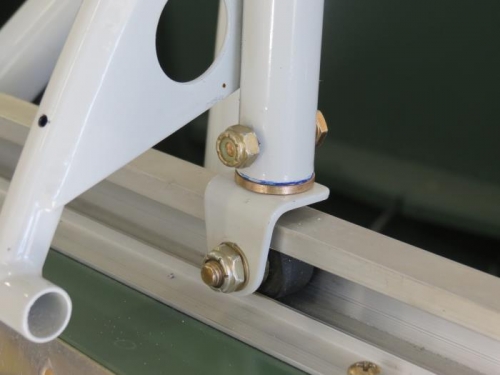
Before fitting the canopy skirt there are some tasks to complete. First, I needed to fabricate a 1/16" spacer to raise the canopy frame just a bit on the starboard side. I lucked out finding a copper bushing that was just the correct ID size to fit over the shank on the roller. Next problem was to cut a slice from the bushing exactly 1/16" thick. That was accomplished with a hacksaw, Dremel cutting wheel, a file, some sandpaper, and careful use of a 1" belt sander. You can see the result in the photos. After installing t he spacer I had to match drill the roller component to the canopy frame for the bolt and nut (see below).
Moving on, I made a couple wooden spacers to position the canopy about 1/4-3/8" open for fitting the skirts. Hopefully once fitted, removal of the spacers will allow the canopy to slide a little forward and down to make a tighter fit (we will see).
Next it was on to tapping some holes in the steel canopy frame to 6-32 for securing with screws so the clecos can be removed. The screws will be flush so they will not interfere with the skirt. Well, after aboutr six holes I broke the tap so that ended my day. Went home and ordered six new 6-32 taps from the Yard Store. I expect to break another before all the holes are tapped!