
|

|
|
|
Pete's RV-8 Web Site
|
Date: 10-1-2015
|
Number of Hours: 4.00
|
Manual Reference:
|
Brief Description: Canopy skirt installation
|
|
Looks like I have a couple days of other demands on my time so probably won't be back in the hangar for a couple days. However, I did get a couple of things either completed or started. First, I decided to get started on the installation of the fiberglass fairings that blend the canopy into the fuselage. I expect this to be another one of those frustrating "what the devil was I thinking when I chose to build an airplane" tasks. Everyone says the fairings don't fit well and have to be heavily modified to look decent. Anyway, I began the task by pulling out my "how to video" on canopy installation and Van's shop manual. Next, I called a fellow builder, Danny King, down in Texas to get his input. Ok, unable to procrastinate any longer, I jumped into the install (bet you didn't think an aviator would know a big word like procrastinate, did you). The first step is easy, dirty but easy. I marked trim lines around the fiberglass fairings 1/4" outside the final cut lines etched into the glass and went to work with a Dremel tool and some sandpaper. The result is shown in the included photos.
My next task was to reinforce the area around the countersunk holes in the empennage fairing. One of the holes in an area that was very thin was larger than intended. The pneumatic tool I was using cut a little too much material away with the countersink bit (my fault, the bit grabbed and just went too deep). So anyway, I fixed the enlarged hole with a layer of glass and some resin mixed with cotton flox. I also added a couple layers of glass cloth in another area that was just too thin and applied a little resin to each countersunk hole to strengthen the area a little.
|
|
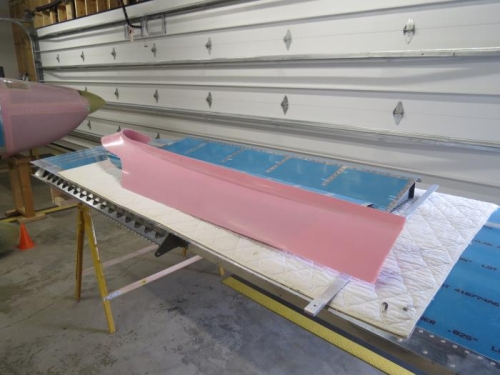
Canopy Skirt Rough Trim
|
|

Empennage Fairing Work
|
|
|
|
|
|
|
|
|
Copyright © 2001-2024 Matronics. All Rights Reserved.
|