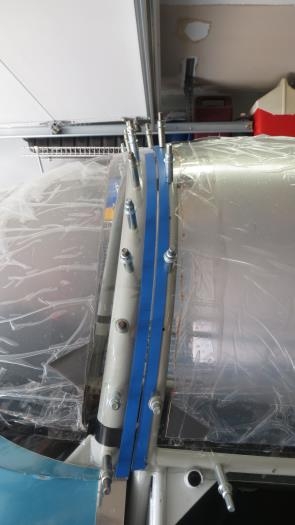
I was expecting that fitting the windscreen to the fuselage skin, roll bar, and the slider would be easier than fitting the bubble but I was wrong. I began by positioning the slider portion of the canopy fore and aft exactly where it was when the windscreen cut was made. The windscreen was also clecoed in the center of the roll bar to re-establish its original position. I immediately found that the slider frame had to be shimmed up about 1/8" on the rollers to get it even and/or just slightly above the windscreen edge.
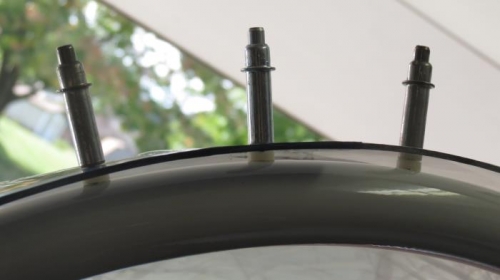
Starting at the center of the windscreen and working down port and starboard I match drilled the windscreen to the roll bar. With each hole drilled I fabricated a small nylon spacer to set the windscreen off the roll bar just enough for the windscreen glass to meet the bubble glass evenly. Spacers ranged in size from "none" to about 1/8" all the way down to the last two on each side at the base of the roll bar. The spacers in the area had to be just a little thicker.
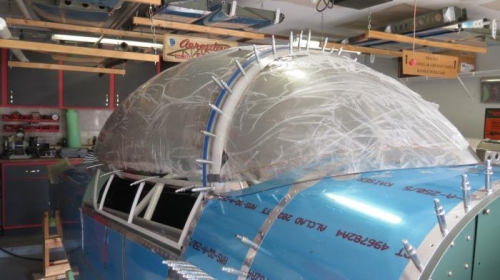
Once I had the canopy butted to the windscreen I taped a "cut to" or "sand to" line along the forward edge of the bubble glass to allow about 1/8" separation between the two pieces of glass. I removed the bubble with frame and using a sanding block removed the plexiglass back to the taped line.