By the time I got home today from working at the NMUSAF the workshop was almost too hot to work in. Temperatures outside were just over 100 and the shop was about 10 degrees cooler. Anyway, I decided to do a small task that didn't require much physical effort.
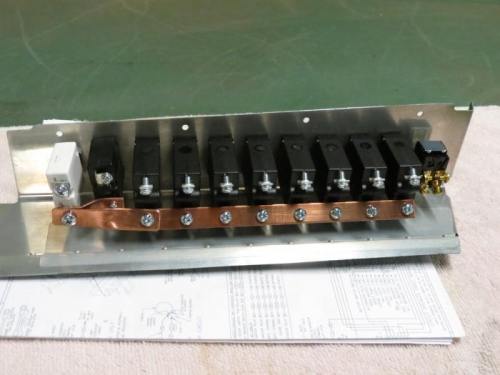
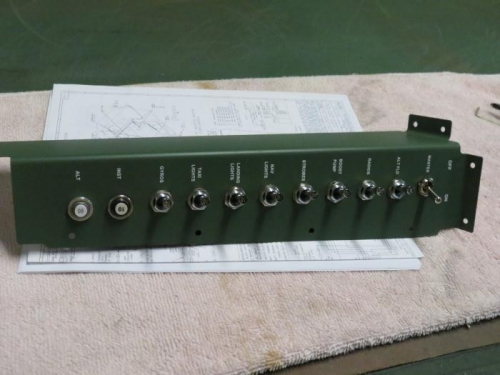
I began by disassembling my switch console so a layer of plastic could be applied to the underside of the switch console. This plastic should provide a little insulation between the metal of the console and the copper buss bar. The plastic extends all the forward to protect the contacts on the master switch as well. The only remaining issue is that the shop rivet heads are exposed thru the plastic. There is enough space that I see no way that any arcing could occur but I may mix up a little proseal and dab on the rivets to seal them to the plastic coating. That would eliminate any possibility of a short.
All the switches and circuit breakers were reinstalled and tightened. The copper buss bar was reinstalled and tightened as well. The circuit breakers for the instruments and alternator are different sizes so a short and special bar was fabricated to connect these two. The wiring kit supplies an 8 gauge jumper wire to connect the two buss bars but it was too long for my configuration. I decided to make a connecting bar from the copper material left over from the original buss bar.