Brief Description: Aft fuselage wiring and ELT install
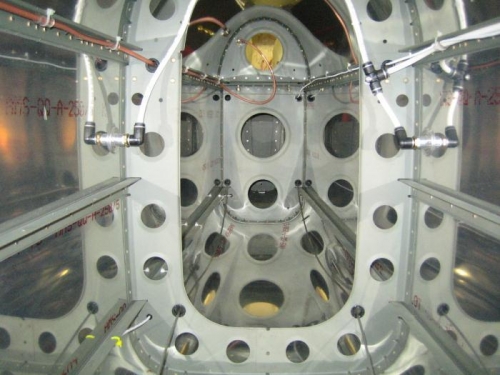
After completing the riveting I used cable ties to secure all the wiring in the aft fuselage and the static line. This consisted of the ELT coax, the multi-conductor elevator trim cable, and the multi-conductor wire that will power the navigation position and strobe lights. I chose to run this wiring along the underside of the longerons so the riveting had to be completed before the wires could be secured. Probably should have used nylon conduit but opted for simple cable ties instead.
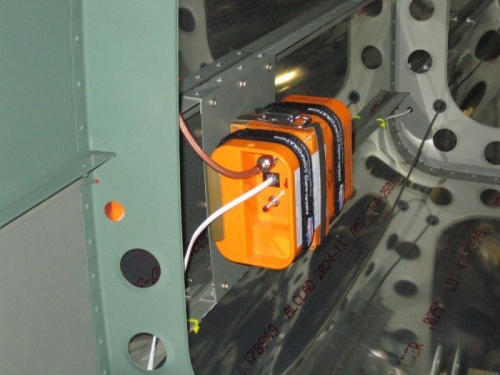
I removed the last of the protective plastic from inside the tail cone and removed all the fingerprints and smudges on the raw aluminum with denatured alcohol. The ELT was installed on its mounting plate and the extra fabric bands were added for security.
I wasn't entirely happy with the number 4 rivets that secured the rear passenger shoulder harness brackets so I reset the rivets by back riveting. I got inside with the gun and a back rivet set while Connie bucked the manufactured rivet head with a special back riveting bucking bar. They are now good to go!
Overall, I am happy with the installation of the upper skin. We still have a fuselage that is relatively free of riveting flaws so polishing is still an option.