Brief Description: Farbricating nutplates for tie-down rings - Page 2
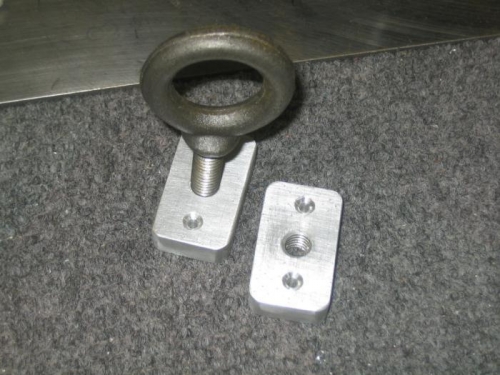
After marking the nutplate dimensions on the aluminum plate, drilling, and tapping it was on to the bandsaw. The metal was soft enough I was able to make all the cuts with a wood cutting saw set to its lowest speed (Craftsman saw only has two speeds). To keep the blade from "loading up" I always place the metal to be cut on top of some soft wood, pine in this case. As the blade passes through the wood it removes any metal stuck in the teeth. In addition, I use a blade having about 6 teeth per inch. The finer the teeth, the more easily the teeth load up.
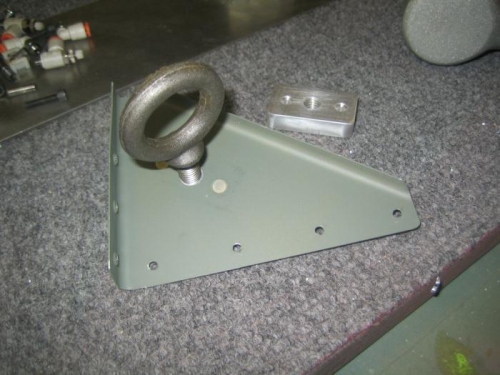
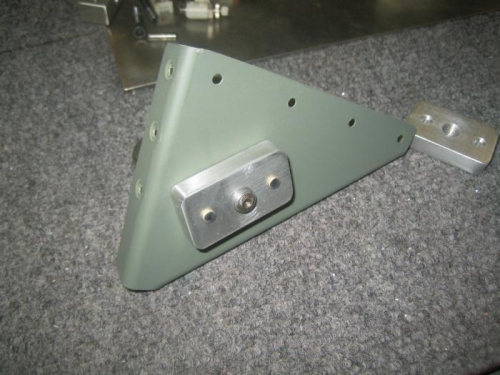
Next step was to smooth the edges and round the corners with a vixen file. Final clean up of the edges was accomplished using a scotchbrite wheel mounted in my drill press. I then clamped the plates to the gussets and match drilled the rivet holes. After dimpling the gussets and machine countersinking the plates I back riveted the plates to the gusset. I had to cut some number 4 flush head rivets to the appropriate length (a rivet cutter is a handy tool).
The results are shown below. Turned out nice I think. I may have to do something about the tie down rings later, maybe polish and chrome or maybe some nice powder coating?