Brief Description: Installed flap motor & acuator assembly
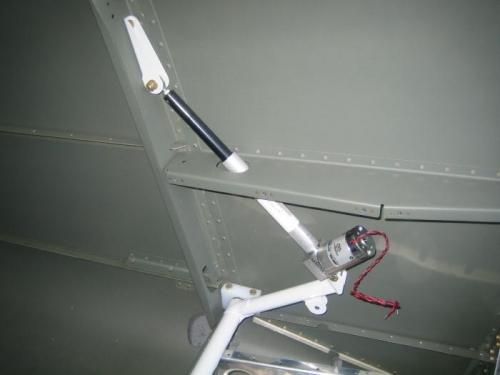
The first task in the shop today was to fit the electric flap actuator. This was relatively easy, consisting of final drilling and deburring of bolt holes, and assembling the various fasteners, washers, and nuts.
One task I was expecting to be difficult turned out to be quite easy. The plans called for drilling a 1/16" safety wire hole at an angle in the top of the actuator rod where the rod end bearing is attached. There is so little metal in that area I wasn't sure it would be possible. Anyway, I used a new 1/16" bit slowly and carefully and it turned out great (just like the drawing).
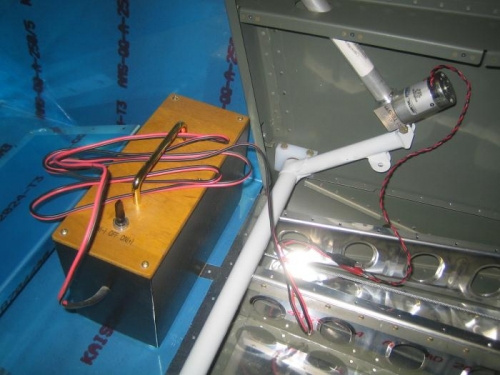
I will need to find a small electrical connector for attaching the flap motor wires to the aircraft wiring harness. Actually, I will need a few for connecting servos, lights, etc. I plan on fast disconnect fasteners for any electrical components that might have to be removed and/or replaced during future maintenance.