Today I began building the seat rib subassembly per the instructions in the shop manual. The first item was to fabricate the F-806E spacers (used on the rear spar attach bars). The spar attach bars were clecoed to the bulkhead as well as the seat belt attach lugs and the F-806 gussets. The #12 holes through the spar bars, spacers, and bulkhead were match drilled.
All the 1/8" holes common between parts clecoed to the rear spar attach bulkhead were match drilled to #30. The forward inboard seat ribs were fluted as necessary to line up holes in the flange. The inboard seat rib angles were prepared for nutplates (attach holes final drilled and countersunk). The F-805 left and right brackets were fabricated from angle shipped earlier with the wing kit. The seat rib angles were clecoed in place as were the seat belt anchor assemblies and all were match drilled per instructions.
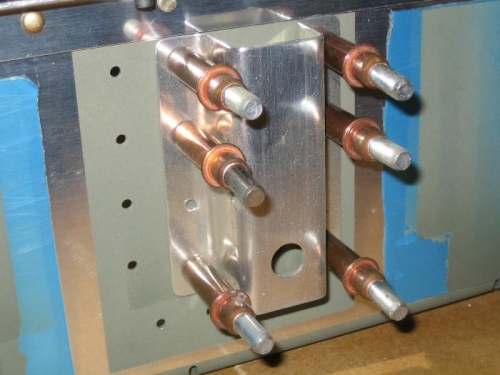
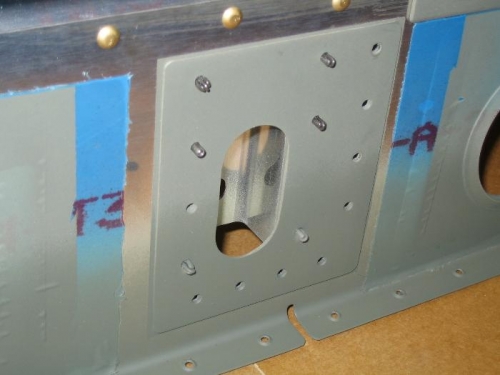
At this point it was necessary to install some brackets required for the electric aileron trim option. The instructions that come with the trim kit assume the install is a retro fit so you have to interpret the instructions and apply them to the current prepunched kit. Actually, the kit comes with much of the work already complete. For instance, you don't have to cut holes in the ribs and the weldment for fastening the trim springs is already installed on the control stick tube. Even so, I managed to mis-install one of the brackets on the wrong rib resulting in some incorrect #30 holes. To correct my mistake, I fabricated the doubler plate shown below.
It's time to take a break before I make another mistake.