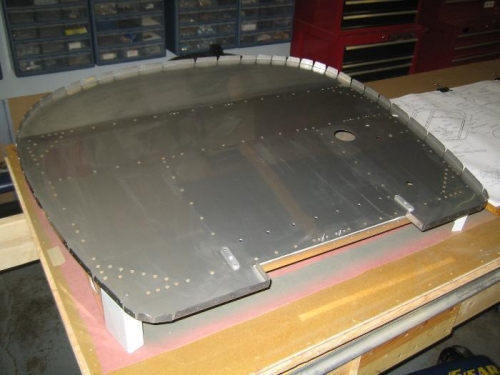
The firewall is now finished. The riveting was a little more tedious than expected. I back riveted most of the assembly using my Cleaveland Tool back rivet plate. The plate had to be mounted on a board to make it thicker so the firewall flanges would not interfere. I also put some protective tape on the fiewall surface so the backing plate and any bucking bar use wouldn't marr the surface. I may polish the firewall in the future if I get real ambitious. By the way, the little tungsten bucking bar did come in handy in a few places to accomplish the back riveting. The larger plate was not always so easy to position.
I followed the rivet call outs on the plans for the most part, however, I did use number sevens (-7) in the corners where the motor mounts are attached. The number sixes (-6) looked just a little short to me when driven. The sevens look a little more substantial. There was also an extra #30 hole in the motor mount that did not match any prepunched hole in the firewall. I believe the hole is used when welding the mounts. In any event, I match drilled the extra hole from the mount weldment side and installed a slightly shortened number nine rivet (-9). The rivet can only add strength and the shop head will not interfere with the engine mounting bolts.
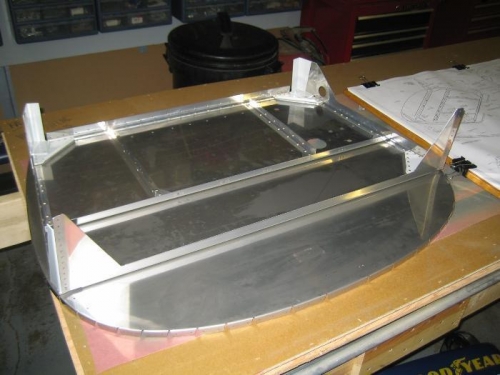
I am just getting started with the fuselage but am fairly happy with the first major assembly.