I accomplished a number of tasks in the shop today leading up to the sealing and installation of the tank rear baffle. The first task was to install the tank vent line. You may recall from an earlier log entry, I neglected to fit the the vent line before installing the root end rib. Even so, it wasn't much trouble inserting the vent line with the rib in the way. It also kept the vent line out of my way when sealing the rivet shop heads inside the tank.
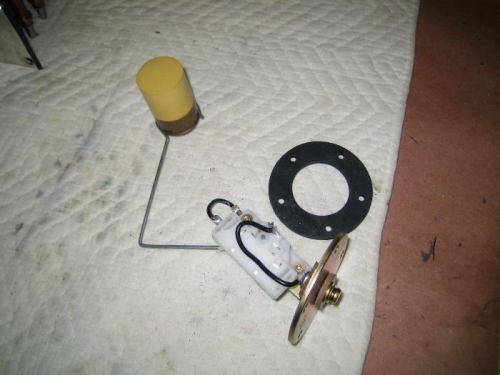
The next task was to bend the float arm for the Stewart Warner fuel sender. Van's plans included a drawing showing the appropriate dimensions for the RV-8 tanks. After clecoing in place, I used a multimeter to check the resistance at the full and empty positions. The readings were close to the values listed in the instructions.
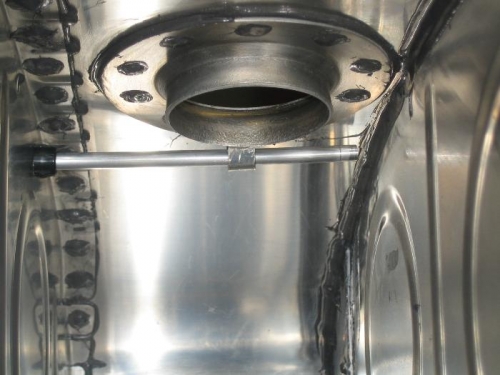
Before installing the baffle, I did one final inspection of rivet shop heads, resealed four rivets that were marginal, and then clecoed the baffle in position. The inside seams that can be inspected with a light and mirror appear to be ok (sealant oozing from between the mating surfaces). I wish it was possible to see into more of the internal bays. I wonder if a bore scope has a long enough probe to see all the bays? Oh well, the pressure test will tell the story.
I will let the sealant cure for a couple days and then set the rivets wet and install the Z brackets. The final step will be to seal the rivet shop heads, allow some additional cure time and then do a leak test.