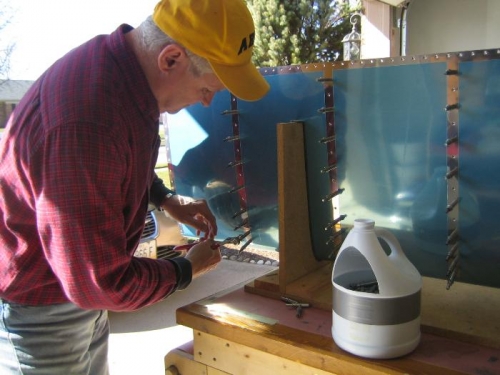
The first item on the schedule this morning was to scuff the leading edge to tank joint splice plate and get it primed. The splice plate must be installed between the leading edge end rib and the skin. After priming the plate, I moved on to assembling the leading edge. Like the port wing assembly, I chose to apply a coating of tank sealant to the nose of each rib. I covered the flange back to the third hole on both the top and bottom of the rib. Sometimes the nose portion of the rib doesn't fit perfectly against the skin so the sealant fills the imperfections making a smoother rivet job (at least that's my thinking).
After the sealant cures for a couple days, I will set the rivets in the extreme leading edge. The other rivets can be set at any time. I just need to install the nutplates on the joint splice plate and insert the final end rib.
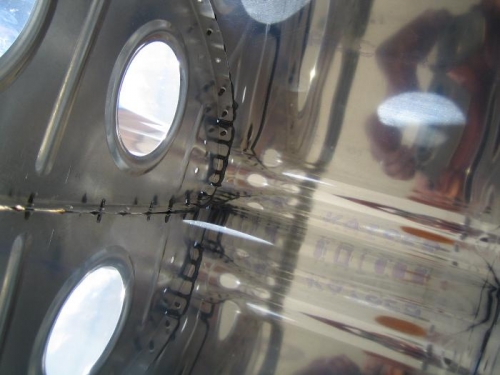
The last task for the day was to replace two rivets in the starboard tank assembly. Upon inspection, I found two rivets that were probably ok but could be better. It's much easier to fix now so they were removed and replaced. I then sealed the remaining rivet shop heads on the inside of the fuel tank. Next step in the tank construction is to carefully inspect the rib flanges and rivet shop heads to ensure there are no voids. Once any voids are sealed, I will install the vent line and move on to the rear baffle. Once the baffle is installed the Z brackets can be riveted in place and the tank will be complete except for pressure testing