Brief Description: Sealed and installed internal right tank ribs
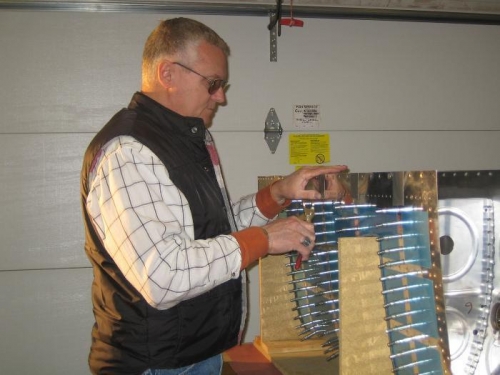
Finally got back in the shop today and continued work on the starboard fuel tank. I began by scuffing the mating surfaces of the tank ribs and wiping them with MEK. I mixed up 100 grams of proseal, coated the flanges of each rib, and clecoed them in place.
I clecoed every rivet hole to ensure a good seal between the ribs and skin. I also used some duct tape to "squeeze" the skin together at the trailing edge of each rib to guarantee a good seal at the aft end of each rib.
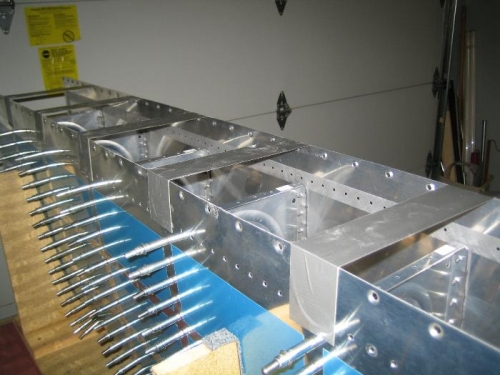
I am using the same technique on this tank as the first. The ribs are coated with sealant and 100% clecoed. The assembly will be set aside for two days for the sealant to partially cure and then the rivets will be wet set. Each rivet shop head will then be coated with sealant. The only difference in the procedure on this tank is the use of special tank dimple dies from Cleavland.
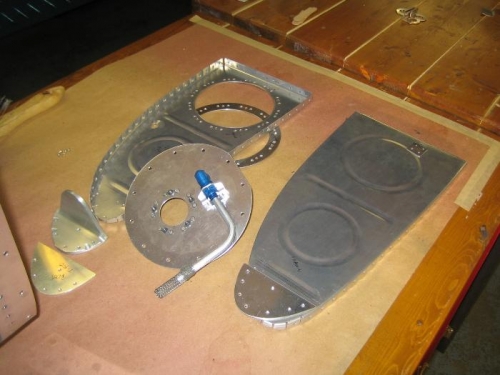
My plan for the next shop session is to seal and rivet the tank end ribs so they will be ready for installation after all the rib rivets are set. The end ribs have some fittings, reinforcement plates, and a bracket that must be assembled. There are also a couple tooling holes that must be sealed.