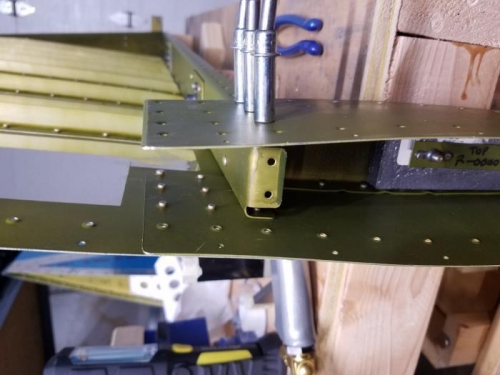
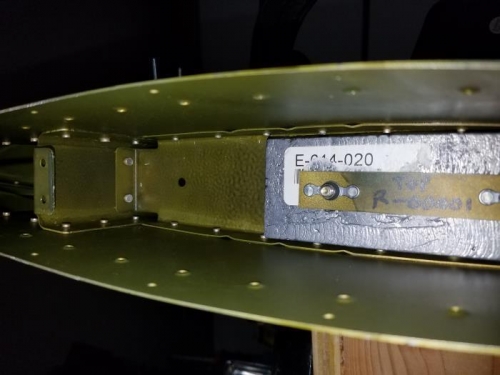
After completing the work on the counterbalance skin, I began attaching the left and right rudder skins to the rudder frame. Attaching the right skin was rather easy, however the work space was seriously reduced when the left skin was attached. In the end I ended drilling out one AN 3-4 rivet and replaced it using using one OOOPS 3-4 rivet. The small tungsten bucking bar came in very handy, and also the largest steel bucking bar I had helped to reach the rivets at the very far back. After attaching the skins I went ahead and installed R-903 Tip Rib, and secured it all the way up to the last two aft AN3-3.5 rivets (to allow more working space to install the rudder wedge). I also secured the top using the instructed LP4-3 pulled rivets. The AN3-3.5 rivets were much easier to install as I simply used the squeezer to install them in place. Lastly I also did not install Lock-Tite to the ends of the screws like I initially intended. Rather I'll simply use torque seal on the heads. While I'd prefer some way to see down into the counterbalace bay, this will not be possible.