This is one of those scary build operations that you really don't want to get wrong. For that reason I really took my time and measured everything about a hundred tiumes before drilling.
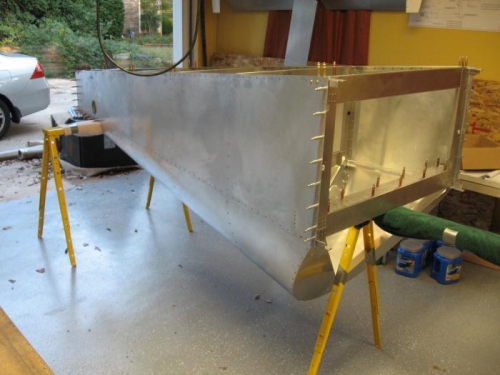
There seem to be two schools of thought on how to do this: leave the fuselage upright or flip it upside down. I chose to flip it, so that the sides can support the floor and I wouldn't have to lay on my back to drill it. The disadvantage is everything is upside down and backwards so you have to read the plans very carefully.
Attaching the side panels is child's play, since the skin holes are match drilled. I have a slight hole alignment issue on the right side, but not so bad I could not get the clecos in. I checked the sides for the proper 14 degree angle at the join point, and once I clamped the longerons tight to the slice plates it was pretty much dead on.
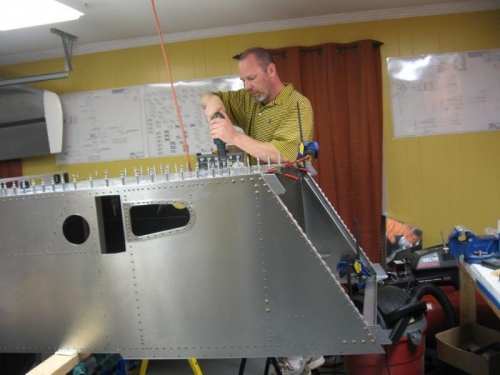
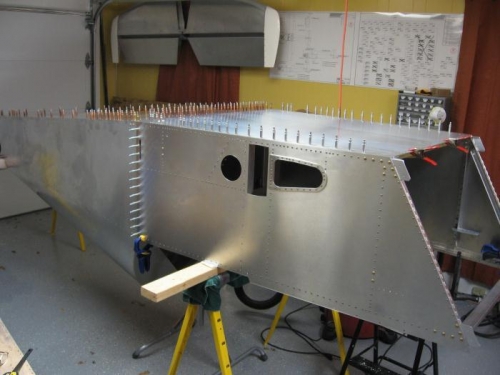
To square things up the floor is then attached. Since my assembly was inverted I got to drill from the top, much easier. I clamped the forward crossties in place (they get drilled after the floor) to keep things square, measured a million times, and started drilling. The first few holes were awkward because I had to put a lot of tension on the side skin whil drilling to flush it up against the floor skin. After that it got a lot easier. The fit is excellent, Sonex does a good job with dimensioning the skins!