Brief Description: Riveted Rib Tips and taped trailing edge
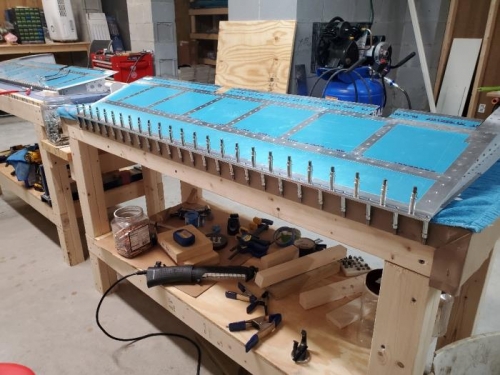
Finished riveting the the tip ribs and counterbalance skins on the left and right elevator. It was fairly simple to reach the AN426AD3-3 rivets on the top skin by pulling back the bottom skin. I used the 3x gun and tungsten bucking bar. One thing to note about some steps missing in the plans is they never direct you to go back and rivet the 6 outer holes in the bottom skins to the rear spar. This is where you have to use the special 14" bucking bar. You must do this before you begin to install the foam ribs with the proseal. I did it after I completed the tip ribs but before I taped the trailing edge bar (E1423 L&R) to the trailing edge skin. Once this is done I taped the TE in and let it sit overnight.
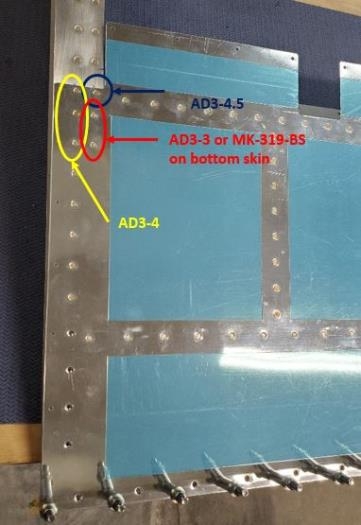
3 different rivets in one area
Access from bottom panel to reach AD3-3 rivets on top panel