Brief Description: Trailing Edge Rivets and Leading edge bend
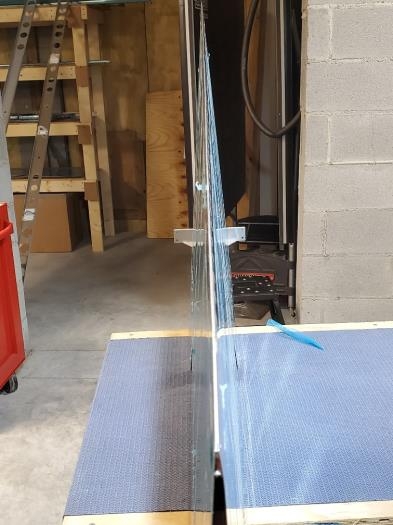
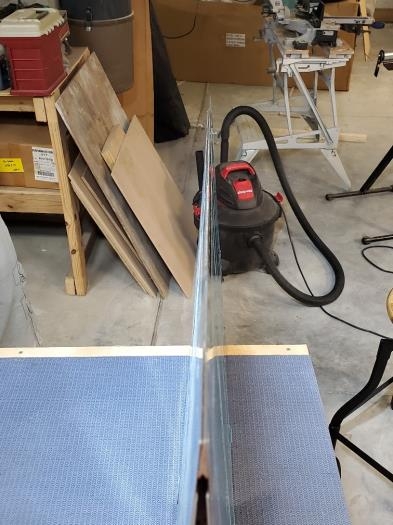
I thought today's tasks of riveting the trailing edge would've been more difficult than bending the leading edge. I was wrong. Bending the leading edge to match the templates was by far the tougher task. We'll start with the trailing edge. I used cleaveland tools blue specialty die which worked great to install the rivets. I used 2 lengths of aluminum angle, half on one side and half on the other with a 3" gap in the middle to allow for the squeezer head. This angle was slightly raised off the bench just enough to slide the trailing edge under it IOT keep it straight while I set the rivets with the cleaveland tool and numatx squeezer. I partially set all the rivets using the technique of every 10th, then every 5th, etc, etc, moving outward from the middle. The numatx squeezer will set an AD3 rivet with about 45 psi so I set it to 25 psi which partially set the rivet. After they all were partially set, I went back and final set them. Based on the angle of the dies, I ended up using 60 psi to get the shop head flush. This worked really well.