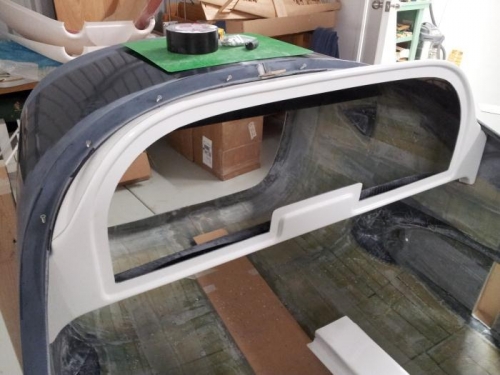
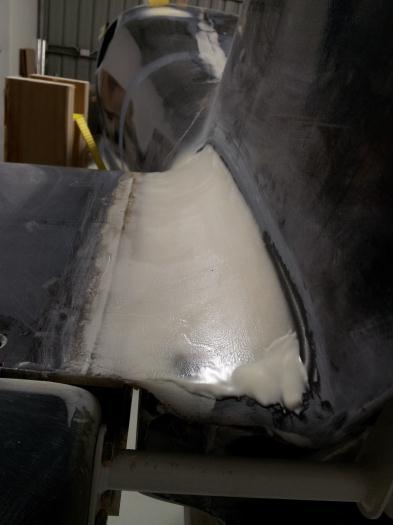
To further progress with the canopy I had to install the instrument panel so that I get the position for the gas strut mounts on the canopy frame. First I measured all mounting holes on the cockpit frame and drilled them. Before I drilled trough the instrument panel I installed temporarily the canopy seal rubber to get the right distance. This was an exercise because the frame has not all the way the same thickness. A bit of sanding helped to get it right. Also I did some filling of the tail plane to get the same HS fairing on both sides, for this I made a little tool out of an old credit card, worked well. On the elevator crank mounting plate I filled the gap after it was trail installed, it was only 1mm to fill on one side with a little bit flocks but before I sprayed the crank side which I filled with PVA release agent, worked very well!